crwdns2935425:06crwdne2935425:0
crwdns2931653:06crwdne2931653:0

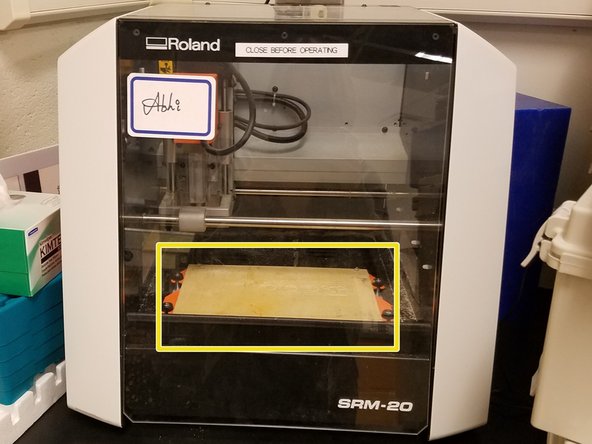


Setting up the Roland SRM-20
-
Set the bit and the material. And set the "home" for xy and for z. See the manual for these instructions.
-
Note: you will see this dialog box when you set the "home". Select "yes".
-
Note: there is a sacrificial board on top to protect the machine.
-
Once everything is ready, select the "output" button. This will begin cutting process.
crwdns2944171:0crwdnd2944171:0crwdnd2944171:0crwdnd2944171:0crwdne2944171:0