crwdns2931529:0crwdnd2931529:0crwdnd2931529:0crwdnd2931529:03crwdnd2931529:0crwdne2931529:0
crwdns2935425:06crwdne2935425:0
crwdns2931653:06crwdne2931653:0


-
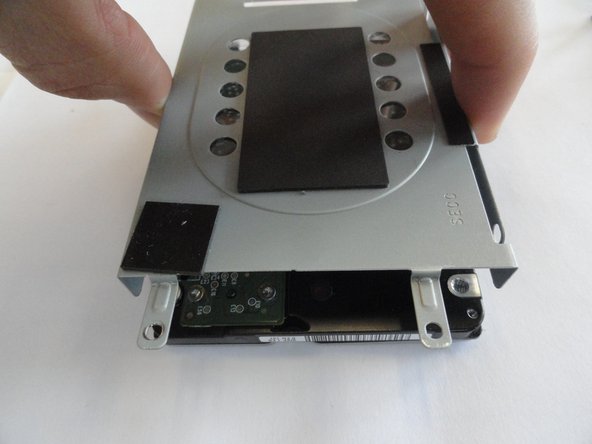
If you need to remove the bracket from the hard drive, follow the next few steps:
-
Remove the two 3.7 mm screws from either side of the bracket with a Phillips #00 screwdriver.
-
Lift the bracket off the hard drive.
| [* black] If you need to remove the bracket from the hard drive, follow the next few steps: | |
| - | [* red] Remove the two 3. |
| + | [* red] Remove the two 3.7 mm screws from either side of the bracket with a Phillips #00 screwdriver. |
| [* black] Lift the bracket off the hard drive. |
crwdns2944171:0crwdnd2944171:0crwdnd2944171:0crwdnd2944171:0crwdne2944171:0