crwdns2933423:0crwdne2933423:0

Sony Xperia Z4 LCDとデジタイザの交換

crwdns2936315:0crwdne2936315:0
crwdns2936323:0crwdne2936323:0
crwdns2931653:06crwdne2931653:0
Sony Xperia Z4 LCD & Digitizer Replacement: crwdns2935265:00crwdnd2935265:01crwdnd2935265:03crwdne2935265:0 Sony Xperia Z4 LCD & Digitizer Replacement: crwdns2935265:00crwdnd2935265:02crwdnd2935265:03crwdne2935265:0 Sony Xperia Z4 LCD & Digitizer Replacement: crwdns2935265:00crwdnd2935265:03crwdnd2935265:03crwdne2935265:0
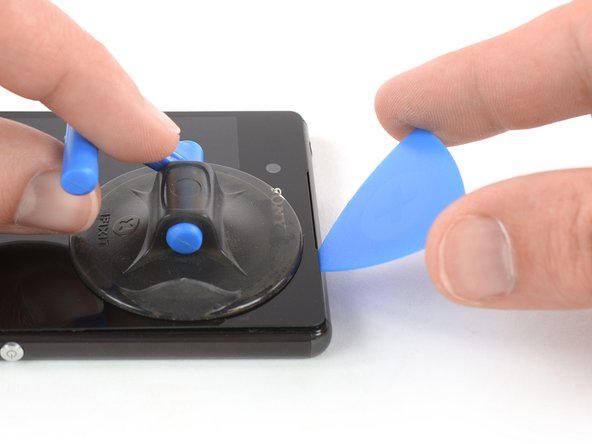
  • Apply a suction handle near the top edge of the phone right under the earpiece speaker.

  • If the phone's screen is cracked, the suction handle may not stick. Try lifting it with strong tape, or superglue the suction handle in place and allow it to cure so you can proceed.

  • Use the suction handle to pull up the screen and insert just the tip of an opening pick under the right edge of the speaker recess.

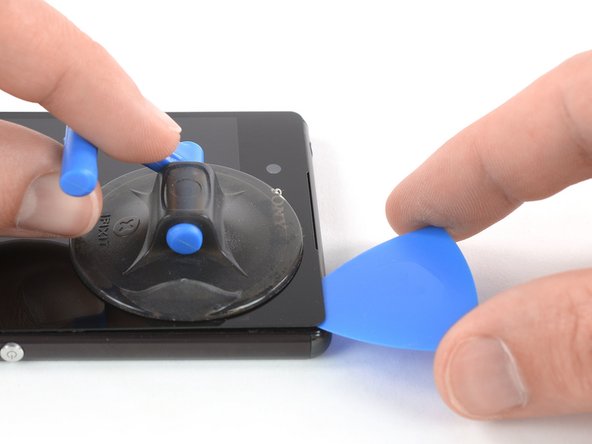
  • Slide the opening pick to the top right corner to loosen the adhesive.

  • Leave the opening pick in its position to prevent the adhesive from resealing.

吸盤ハンドルをデバイス本体の上部端、イヤピーススピーカーの下に装着します。

デバイスのスクリーンに亀裂が入っている場合は、吸盤ハンドルがうまく装着しません。頑丈なガムテープを使うか、もしくは吸盤ハンドルに強力ボンドを付けて持ち上げてください。

吸盤ハンドルを使ってスクリーンを引き上げて、スピーカーの右端の下に開口ピックの先端を差し込みます。

上部右側のコーナーまで開口ピックをスライドして、接着剤を緩めます。

接着剤が再装着するのを防ぐため、開口ピックをその場所に残します。

crwdns2944171:0crwdnd2944171:0crwdnd2944171:0crwdnd2944171:0crwdne2944171:0