crwdns2933423:0crwdne2933423:0

Asus ROG G751JL-BB17T29 Upper Case Assembly Replacement

crwdns2931529:0crwdnd2931529:0crwdnd2931529:0crwdnd2931529:05crwdnd2931529:0crwdne2931529:0

crwdns2936315:0crwdne2936315:0
crwdns2936323:0crwdne2936323:0
crwdns2931653:06crwdne2931653:0
Asus ROG G751JL-BB17T29 Upper Case Assembly Replacement, Remove the upper case assembly: crwdns2935265:00crwdnd2935265:01crwdnd2935265:03crwdne2935265:0 Asus ROG G751JL-BB17T29 Upper Case Assembly Replacement, Remove the upper case assembly: crwdns2935265:00crwdnd2935265:02crwdnd2935265:03crwdne2935265:0 Asus ROG G751JL-BB17T29 Upper Case Assembly Replacement, Remove the upper case assembly: crwdns2935265:00crwdnd2935265:03crwdnd2935265:03crwdne2935265:0
Remove the upper case assembly
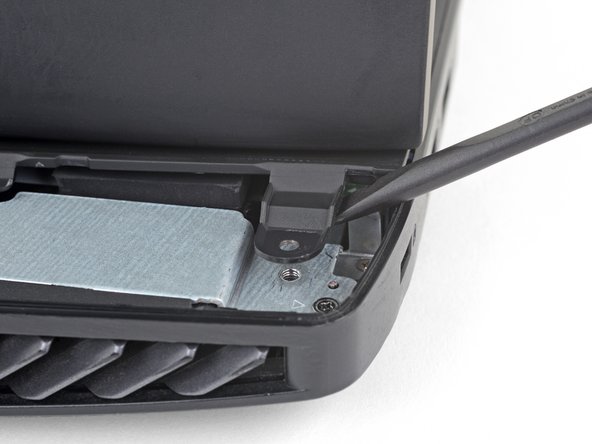
  • Open the laptop's display to a 90° angle.

  • Use a spudger to pry against one of the screw tabs on the back of the upper case assembly.

  • Make sure to pry as close as possible to the base of the tab to avoid damaging the tab.

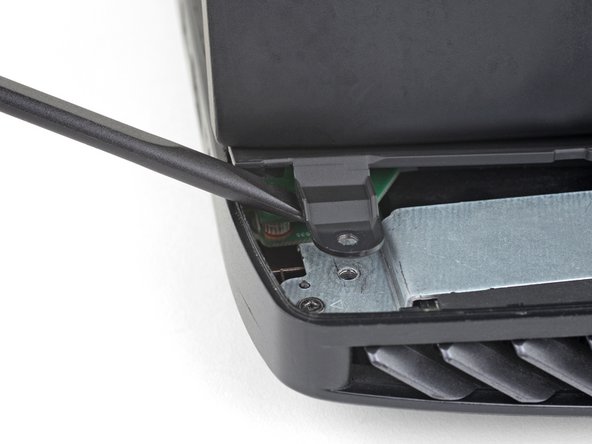
  • Repeat this procedure with the other tab.

  • The upper case assembly is held in place by small clips around its edges. In this step, pry each tab up until you feel the nearest clips release.

crwdns2935429:0crwdne2935429:0

crwdns2935429:0crwdne2935429:0

crwdns2935429:0crwdne2935429:0

crwdns2935429:0crwdne2935429:0

crwdns2935429:0crwdne2935429:0

crwdns2944171:0crwdnd2944171:0crwdnd2944171:0crwdnd2944171:0crwdne2944171:0