crwdns2933423:0crwdne2933423:0

Lenovo ThinkPad SL410 Teardown

crwdns2936315:0crwdne2936315:0
crwdns2936321:0crwdne2936321:0
crwdns2931653:017crwdne2931653:0
Lenovo ThinkPad SL410 Teardown, Step 13: Removing the bezel: crwdns2935265:00crwdnd2935265:01crwdnd2935265:02crwdne2935265:0 Lenovo ThinkPad SL410 Teardown, Step 13: Removing the bezel: crwdns2935265:00crwdnd2935265:02crwdnd2935265:02crwdne2935265:0
Step 13: Removing the bezel
  • There are three rubber pieces that are stuck on with adhesive that need to be removed. They can be removed with anything small and thin enough to get under them.

  • Under the rubber, there are screws that need to be unscrewed.

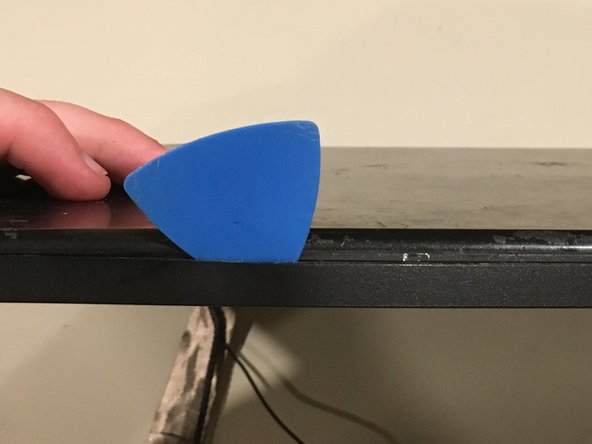
  • After that, take a opening pick and insert it at an angle shown in the second picture.

  • It may be beneficial to use more than one to hold your place (to make sure places you already separated don't snap back in again

  • Repeat the last two steps (three if this one is included) as many times as needed until the bezel is removed.

crwdns2935429:0crwdne2935429:0

crwdns2935429:0crwdne2935429:0

crwdns2935429:0crwdne2935429:0

crwdns2935429:0crwdne2935429:0

crwdns2935429:0crwdne2935429:0

crwdns2944171:0crwdnd2944171:0crwdnd2944171:0crwdnd2944171:0crwdne2944171:0