crwdns2935425:07crwdne2935425:0
crwdns2931653:07crwdne2931653:0

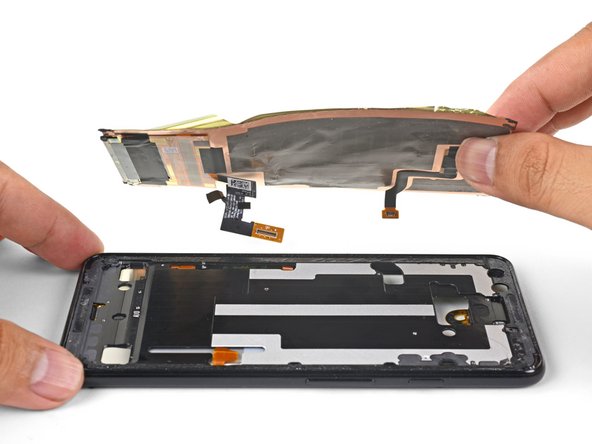


Remove the display assembly
-
Thread the screen cable and digitizer cable out of their cutouts, then remove the display.
-
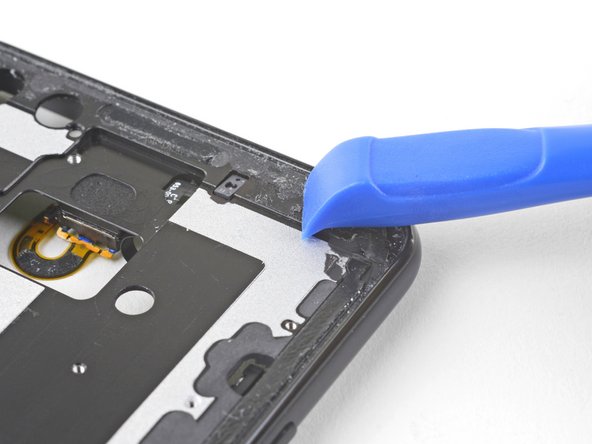
Clean all adhesive residue from the phone frame. Adhesive that's left behind may apply uneven pressure against the replacement screen and potentially damage it.
-
Apply a pre-cut adhesive, or double-sided tape to the phone frame's perimeter.
-
Peel all plastic liners from the back of the replacement screen to expose the adhesive.
-
Carefully thread the screen cable and the digitizer cable through the phone frame's cutouts.
-
Lay the screen onto the frame and place some books on top for an hour to help the screen adhesive bond to the frame.
| - | [ |
|---|---|
| - | [* black] |
| - | [* icon_reminder] To install a replacement |
| + | [title] Remove the display assembly |
| + | [* black] Thread the screen cable and digitizer cable out of their cutouts, then remove the display. |
| + | [* icon_reminder] To install a replacement display assembly: |
| [* black] Clean all adhesive residue from the phone frame. Adhesive that's left behind may apply uneven pressure against the replacement screen and potentially damage it. | |
| [* black] Apply a pre-cut adhesive, or double-sided tape to the phone frame's perimeter. | |
| [* black] Peel all plastic liners from the back of the replacement screen to expose the adhesive. | |
| [* black] Carefully thread the screen cable and the digitizer cable through the phone frame's cutouts. | |
| [* black] Lay the screen onto the frame and place some books on top for an hour to help the screen adhesive bond to the frame. | |
| + | [* icon_reminder] During the boot-up process after reassembly, the screen will go through a calibration sequence. Do not touch the screen during this process, as it could result in improper touch calibration and create touch issues. |
crwdns2944171:0crwdnd2944171:0crwdnd2944171:0crwdnd2944171:0crwdne2944171:0