crwdns2933423:0crwdne2933423:0

Google Pixel 3ディスプレイアセンブリの交換

crwdns2936315:0crwdne2936315:0
crwdns2936323:0crwdne2936323:0
crwdns2931653:05crwdne2931653:0
Google Pixel 3 Display Assembly Replacement, Cut through the adhesive: crwdns2935265:00crwdnd2935265:01crwdnd2935265:03crwdne2935265:0 Google Pixel 3 Display Assembly Replacement, Cut through the adhesive: crwdns2935265:00crwdnd2935265:02crwdnd2935265:03crwdne2935265:0 Google Pixel 3 Display Assembly Replacement, Cut through the adhesive: crwdns2935265:00crwdnd2935265:03crwdnd2935265:03crwdne2935265:0
Cut through the adhesive
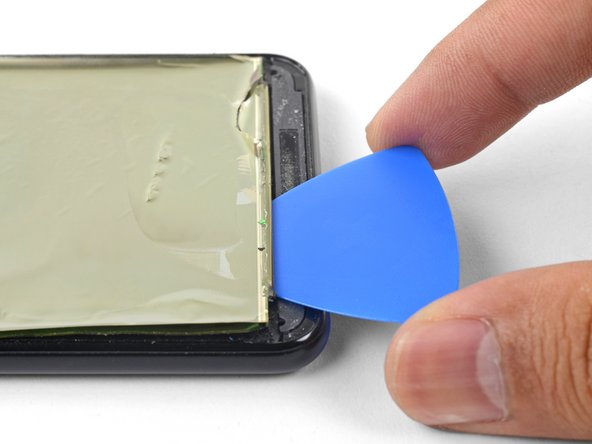
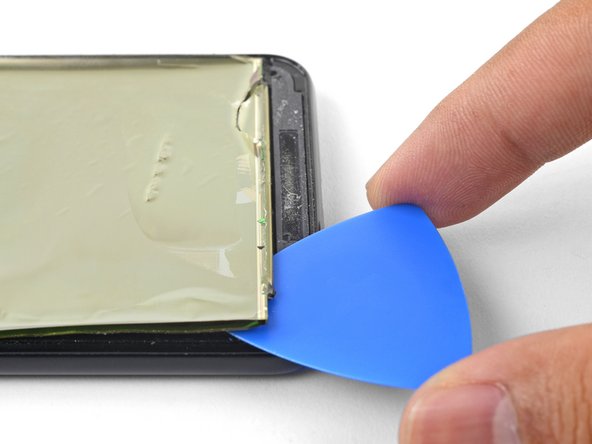
  • The remaining part of the screen is affixed to the phone frame by a large patch of adhesive.

  • Insert an opening pick into the seam between the phone frame and the bottom edge of the screen remains.

  • Pry along the edge to loosen the screen from the frame.

  • If you are having trouble, apply a heated iOpener over the screen to help loosen the adhesive.

スクリーンの残りの部分がデバイスのフレームに大きな接着剤の塊で固定されています。

開口ピックをデバイスのフレームとスクリーン下側端の間のシームに差し込みます。

スクリーン端に沿ってこじ開けて、フレームからスクリーンを緩めます。

作業がうまく進まない場合は、iOpenerでスクリーン上を温めて、接着剤を柔らかくしてください。

crwdns2944171:0crwdnd2944171:0crwdnd2944171:0crwdnd2944171:0crwdne2944171:0