crwdns2933423:0crwdne2933423:0

Google Pixel 3ディスプレイアセンブリの交換

crwdns2935425:01crwdne2935425:0

crwdns2936315:0crwdne2936315:0
crwdns2936323:0crwdne2936323:0
crwdns2931653:01crwdne2931653:0
Google Pixel 3 Display Assembly Replacement, Weaken the display assembly's adhesive: crwdns2935265:00crwdnd2935265:01crwdnd2935265:03crwdne2935265:0 Google Pixel 3 Display Assembly Replacement, Weaken the display assembly's adhesive: crwdns2935265:00crwdnd2935265:02crwdnd2935265:03crwdne2935265:0 Google Pixel 3 Display Assembly Replacement, Weaken the display assembly's adhesive: crwdns2935265:00crwdnd2935265:03crwdnd2935265:03crwdne2935265:0
Weaken the display assembly's adhesive
  • Apply a heated iOpener to the bottom edge of the screen for a minute.

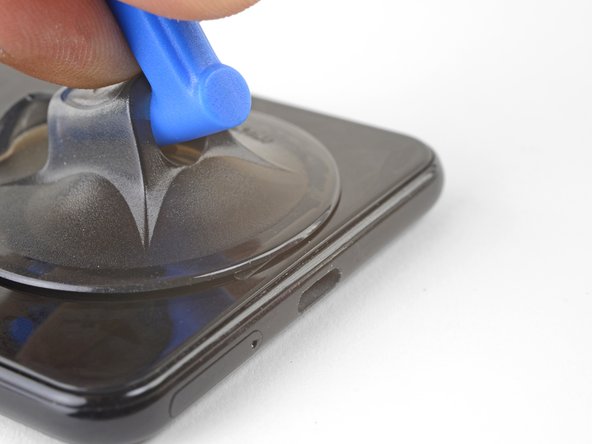
  • Place a suction cup near the bottom edge of the screen, near the USB-C port.

  • Lift on the suction cup with strong, steady force to create a gap.

  • Depending on how aged your phone is, this may take significant force. If you are having trouble, apply more heat and try again.

  • You can also try heating and pulling up a long edge of the phone to gain access.

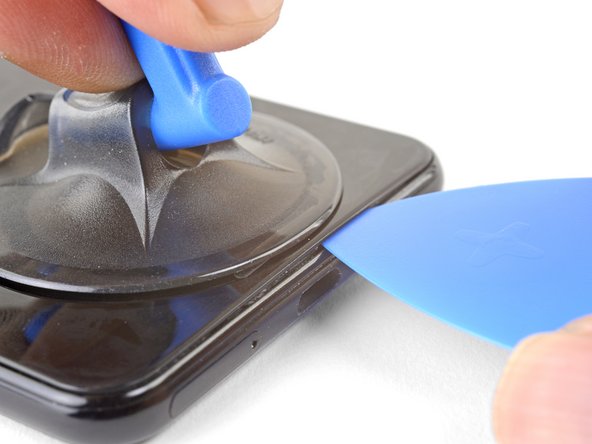
  • Insert an opening pick into the gap.

温めたiOpenerをスクリーン下側端に沿って、約1分間載せます。

吸盤カップをスクリーンの下側端付近、USB-Cポートの近くに取り付けます。

吸盤カップを強く、一定の力で持ち上げて、隙間を作ります。

お持ちのデバイスの使用年数にもよりますが、この作業にはかなりの力が必要です。もし作業がうまく進まない場合は、さらにiOpenerで温めてください。

デバイスの長辺側に沿って温めて、吸盤カップで引き上げて、内部にアクセスすることも可能です。

開口ピックを隙間に差し込みます。

crwdns2944171:0crwdnd2944171:0crwdnd2944171:0crwdnd2944171:0crwdne2944171:0