crwdns2933423:0crwdne2933423:0

Sostituzione gruppo schermo Google Pixel 3

crwdns2935425:01crwdne2935425:0

crwdns2936315:0crwdne2936315:0
crwdns2936321:0crwdne2936321:0
crwdns2931653:01crwdne2931653:0
Google Pixel 3 Display Assembly Replacement, Weaken the display assembly's adhesive: crwdns2935265:00crwdnd2935265:01crwdnd2935265:03crwdne2935265:0 Google Pixel 3 Display Assembly Replacement, Weaken the display assembly's adhesive: crwdns2935265:00crwdnd2935265:02crwdnd2935265:03crwdne2935265:0 Google Pixel 3 Display Assembly Replacement, Weaken the display assembly's adhesive: crwdns2935265:00crwdnd2935265:03crwdnd2935265:03crwdne2935265:0
Weaken the display assembly's adhesive
  • Apply a heated iOpener to the bottom edge of the screen for a minute.

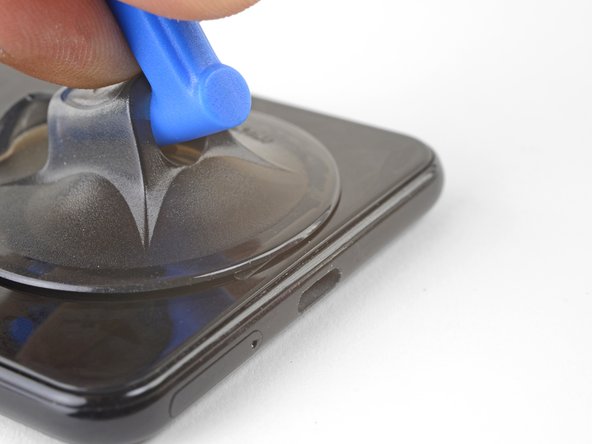
  • Place a suction cup near the bottom edge of the screen, near the USB-C port.

  • Lift on the suction cup with strong, steady force to create a gap.

  • Depending on how aged your phone is, this may take significant force. If you are having trouble, apply more heat and try again.

  • You can also try heating and pulling up a long edge of the phone to gain access.

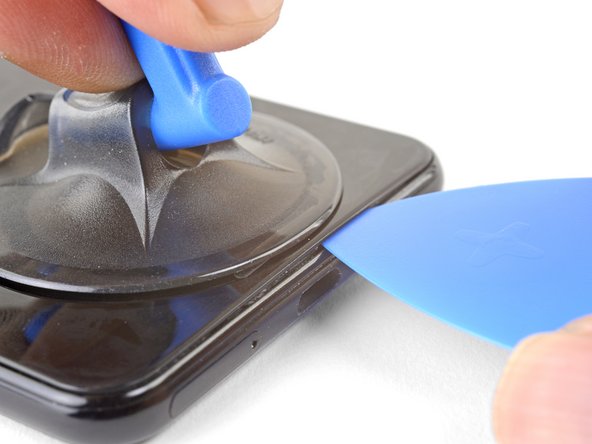
  • Insert an opening pick into the gap.

Disponi per un minuto un iOpener riscaldato sul bordo inferiore dello schermo.

Applica una ventosa vicino al bordo inferiore dello schermo, vicino alla porta USB-C.

Tira la ventosa con forza elevata e costante per creare una fessura.

A seconda dell'età del tuo telefono, questa azione può richiedere una notevole forza. Se hai dei problemi, applica dell'altro calore e prova di nuovo.

Per guadagnati l'accesso, puoi anche provare a riscaldare e tirare uno dei bordi lunghi del telefono.

Inserisci nella fessura un plettro di apertura.

crwdns2944171:0crwdnd2944171:0crwdnd2944171:0crwdnd2944171:0crwdne2944171:0