crwdns2933423:0crwdne2933423:0

Google Pixel 3 Ladeeinheit austauschen

crwdns2935425:010crwdne2935425:0

crwdns2936315:0crwdne2936315:0
crwdns2936319:0crwdne2936319:0
crwdns2931653:010crwdne2931653:0
Google Pixel 3 Charging Assembly Replacement: crwdns2935265:00crwdnd2935265:01crwdnd2935265:03crwdne2935265:0 Google Pixel 3 Charging Assembly Replacement: crwdns2935265:00crwdnd2935265:02crwdnd2935265:03crwdne2935265:0 Google Pixel 3 Charging Assembly Replacement: crwdns2935265:00crwdnd2935265:03crwdnd2935265:03crwdne2935265:0
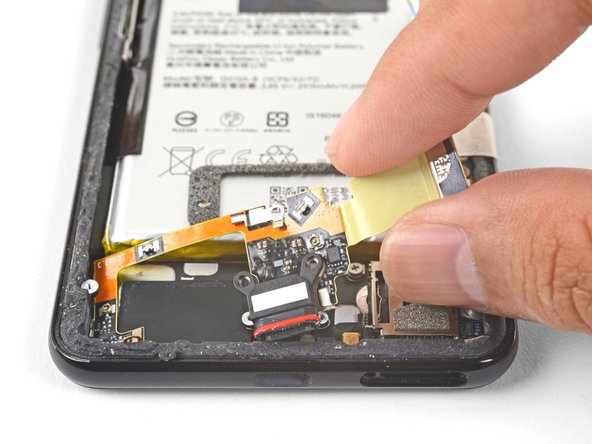
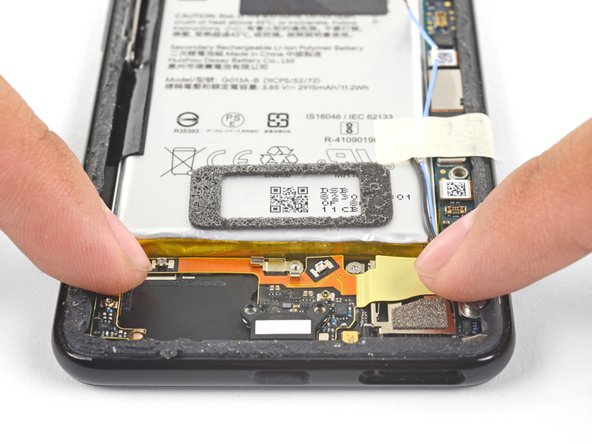
  • When you are installing a replacement assembly:

  • Be sure to remove all plastic liners from the assembly to expose the adhesive.

  • Line up the assembly's bottom left corner into place.

  • Carefully lay the rest of the assembly in place, making sure that the USB-C port is correctly seated in its respective cutout.

  • Use your fingers to press the assembly onto the frame.

So wird die Ersatz-Ladeeinheit eingebaut:

Achte darauf, dass alle Schutzfolien vom Ersatzteil entfernt sind und die Klebeflächen frei liegen.

Setze die untere linke Ecke der Einheit richtig ein.

Lege sorgfältig den Rest der Einheit hinein, achte darauf, dass die USB-C Buchse richtig in ihrem Ausschnitt sitzt.

Drücke die Einheit mit den Fingern auf dem Rahmen fest.

crwdns2944171:0crwdnd2944171:0crwdnd2944171:0crwdnd2944171:0crwdne2944171:0