crwdns2935425:03crwdne2935425:0
crwdns2931653:03crwdne2931653:0


-
Once the adhesive is aligned, use your fingers to press the adhesive into place.
-
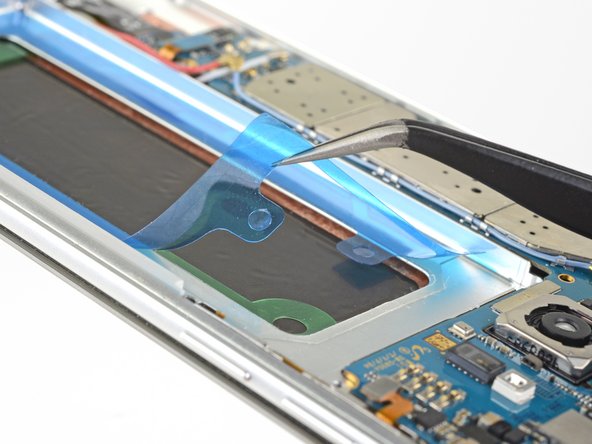
When you are ready to stick the battery onto the frame, carefully peel away the blue plastic liner to expose the adhesive.
-
Set the battery lightly in place.
-
Plug in the battery connector temporarily to ensure that the cable reaches the socket.
-
Press the battery perimeter firmly with your fingers to help the adhesive bond.
-
Disconnect the battery before resuming re-assembly.
crwdns2944171:0crwdnd2944171:0crwdnd2944171:0crwdnd2944171:0crwdne2944171:0