crwdns2931527:0crwdnd2931527:0crwdnd2931527:0crwdnd2931527:0crwdne2931527:0
crwdns2935425:05crwdne2935425:0
crwdns2931653:05crwdne2931653:0


-
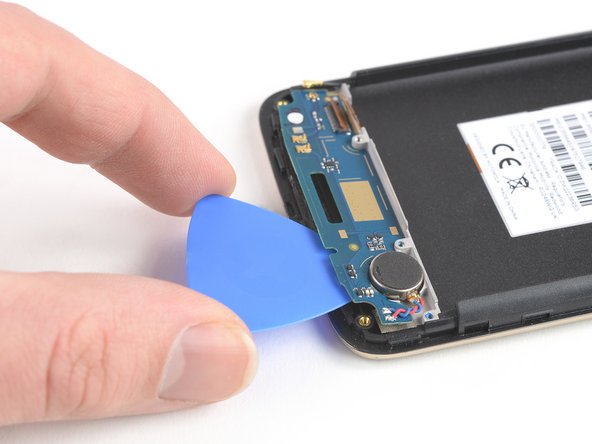
Apply an opening pick to the bottom edge of the daughterboard.
-
Carefully slide the opening pick under the daughterboard to cut the adhesive underneath.
-
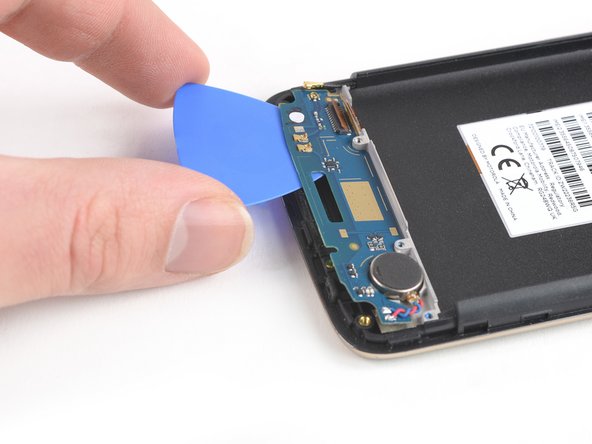
Slide the opening pick from right to left to cut all the adhesive.
| [* black] Apply an opening pick to the bottom edge of the daughterboard. | |
| - | [* black] |
| + | [* black] Carefully slide the opening pick under the daughterboard to cut the adhesive underneath. |
| [* icon_note] Take care to cut the adhesive underneath the vibration motor. | |
| [* black] Slide the opening pick from right to left to cut all the adhesive. |
crwdns2944171:0crwdnd2944171:0crwdnd2944171:0crwdnd2944171:0crwdne2944171:0