crwdns2935425:07crwdne2935425:0
crwdns2931653:07crwdne2931653:0


-
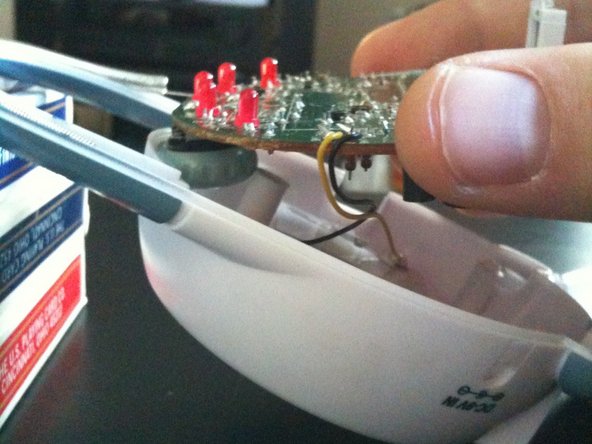
Create about a 30 degree angle between the rear casing and your workspace, lifting the casing by the top end. I used 3 decks of playing cards to prop up the casing from my workspace.
-
Lift the main board from the rear casing at the bottom, making sure the volume dial clears the screw retainer post. DO NOT COMPLETELY REMOVE MAIN BOARD!
-
Once free, set the main board back down on the casing.
-
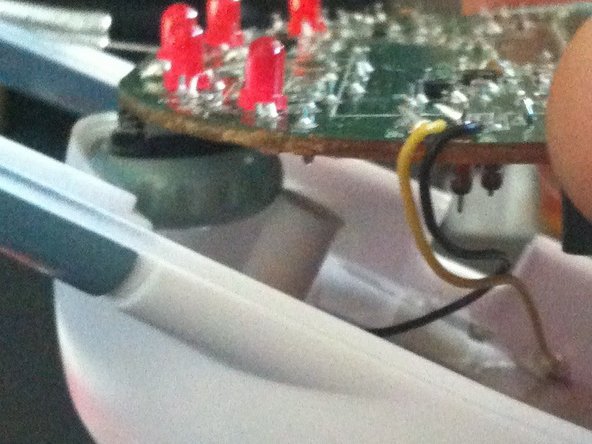
You are now free to desolder any of the contacts that need repair. In my situation, I will be examining the volume dial and will not need to desolder.
-
Good luck!
crwdns2944171:0crwdnd2944171:0crwdnd2944171:0crwdnd2944171:0crwdne2944171:0