crwdns2933423:0crwdne2933423:0

Remplacement des boutons de la HP Deskjet 1055

crwdns2936315:0crwdne2936315:0
crwdns2936317:0crwdne2936317:0
crwdns2931653:03crwdne2931653:0
HP Deskjet 1055 Buttons Replacement: crwdns2935265:00crwdnd2935265:01crwdnd2935265:03crwdne2935265:0 HP Deskjet 1055 Buttons Replacement: crwdns2935265:00crwdnd2935265:02crwdnd2935265:03crwdne2935265:0 HP Deskjet 1055 Buttons Replacement: crwdns2935265:00crwdnd2935265:03crwdnd2935265:03crwdne2935265:0
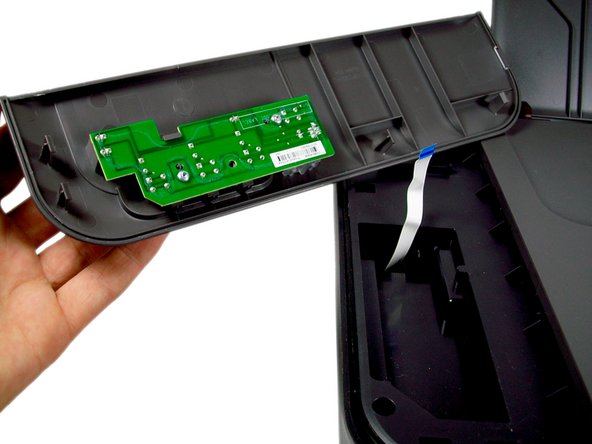
  • Turn the plate over to reveal the white strip of connecting tape that connects the plate to the printer.

  • Find where the tape is connected to the green button circuit board (Location circled in red)

  • Place two fingers on the tape right where it connects to the plate and gently pull the tape out of the circuit board.

Retournez la plaque pour révéler la bande blanche de ruban adhésif qui relie la plaque à l'imprimante.

Trouvez où la bande est connectée à la carte de circuit imprimé du bouton vert (emplacement entouré en rouge)

Placez deux doigts sur la bande à l'endroit où elle se connecte à la plaque et retirez doucement la bande du circuit imprimé.

crwdns2944171:0crwdnd2944171:0crwdnd2944171:0crwdnd2944171:0crwdne2944171:0