crwdns2933423:0crwdne2933423:0

MacBook Air 13" Retina 2018 Teardown

crwdns2936315:0crwdne2936315:0
crwdns2936319:0crwdne2936319:0
crwdns2931653:05crwdne2931653:0
MacBook Air 13" Retina 2018 Teardown: crwdns2935265:00crwdnd2935265:01crwdnd2935265:03crwdne2935265:0 MacBook Air 13" Retina 2018 Teardown: crwdns2935265:00crwdnd2935265:02crwdnd2935265:03crwdne2935265:0 MacBook Air 13" Retina 2018 Teardown: crwdns2935265:00crwdnd2935265:03crwdnd2935265:03crwdne2935265:0
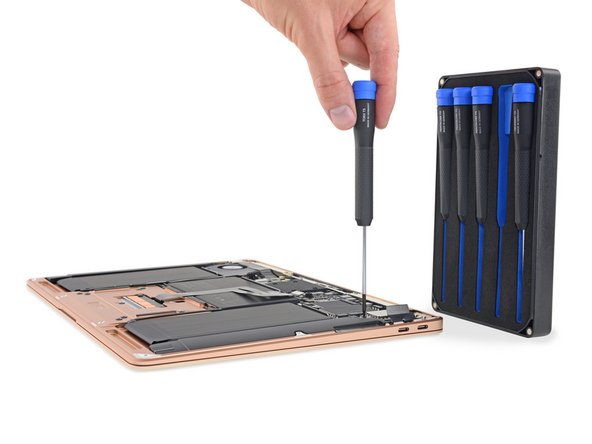
  • Just six Torx screws and a few cable connectors stand between us and logic board removal—not bad! Certainly nothing our Marlin Screwdriver Set can't handle.

  • Out it comes! The Air's logic board is not mustachioed like the Pro's, nor is it quite so minuscule as the MacBook's.

  • So far this is easy, but we'd prefer to see upgradeable components or straightforward battery access—AKA device-life extenders—over board access at this point.

  • Next we snag the daughterboard, which hosts a (highly endangered) headphone jack and some connectors for the speaker and Touch ID sensor.

  • Also residing on this board: a Cirrus Logic CS42L83A audio codec.

Zwischen uns und dem Ausbau des Logic Boards stehen nur sechs Torx Schrauben und einige Kabelstecker - nicht übel! Das erledigt unser Marlin Schraubendreher Set im Nullkommanichts.

Und da ist es schon! Das Logic Board des Airs ist nicht schnurrbartförmig wie beim Pro und es ist auch nicht so winzig wie beim MacBook.

Bis jetzt ist alles recht einfach, wir hätten aber an diesem Punkt lieber aufrüstbare Komponenten oder einen einfachen Zugang zum Akku - die sogenannte Lebensverlängerer - gesehen, als den Zugang zum Board.

Als nächstes schnappen wir uns die Tochterplatine, auf der die Kopfhörerbuchse (äußerst gefährdet) und einige Anschlüsse für den Lautsprecher und den Toch ID Sensor untergebracht sind.

Auf dieser Platine befindet ebenfalls ein Cirrus Logic CS42L83A Audio Codec.

crwdns2944171:0crwdnd2944171:0crwdnd2944171:0crwdnd2944171:0crwdne2944171:0