crwdns2935425:03crwdne2935425:0
crwdns2931653:03crwdne2931653:0


-
The Surface Pro series has a few different configurations, and they all come standard with upgraded adhesive.
-
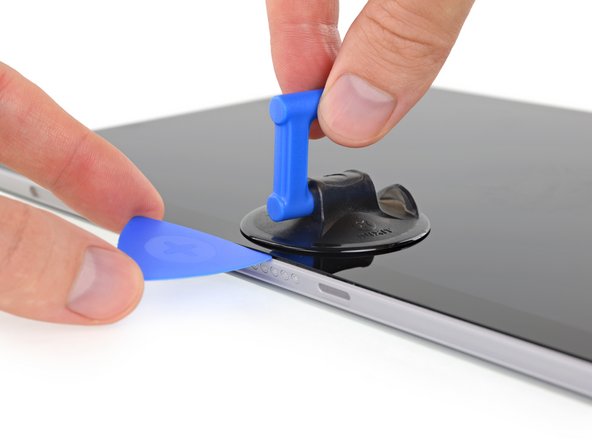
Fortunately, we've got a tried-and-true recipe for Surface screen separation success:
-
Step 1: apply iOpener liberally.
-
Step 2: grab an Opening Pick and a Suction Handle, and fight for dear life through Microsoft's gauntlet of adhesive.
-
Step 3 (optional): get impatient, break screen.
-
Luckily, we don't run into any surprises as we free the display—everything's pretty much the same as before, save for an extra display cable compared to the Surface Go.
crwdns2944171:0crwdnd2944171:0crwdnd2944171:0crwdnd2944171:0crwdne2944171:0