crwdns2933423:0crwdne2933423:0

Remplacement de l'écran LCD du Nokia 8290

crwdns2935425:01crwdne2935425:0

crwdns2936315:0crwdne2936315:0
crwdns2936317:0crwdne2936317:0
crwdns2931653:01crwdne2931653:0
Nokia 8290 LCD Screen Replacement: crwdns2935265:00crwdnd2935265:01crwdnd2935265:03crwdne2935265:0 Nokia 8290 LCD Screen Replacement: crwdns2935265:00crwdnd2935265:02crwdnd2935265:03crwdne2935265:0 Nokia 8290 LCD Screen Replacement: crwdns2935265:00crwdnd2935265:03crwdnd2935265:03crwdne2935265:0
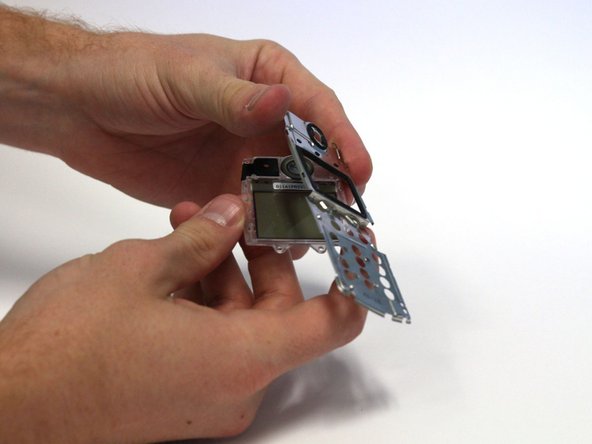
  • Using your fingers or a probe, loosen the four small tabs located on the side of the faceplate sub-assembly by gently bending up the metal cover. (Two are shown in the picture while the other two are on the other side of the screen.)

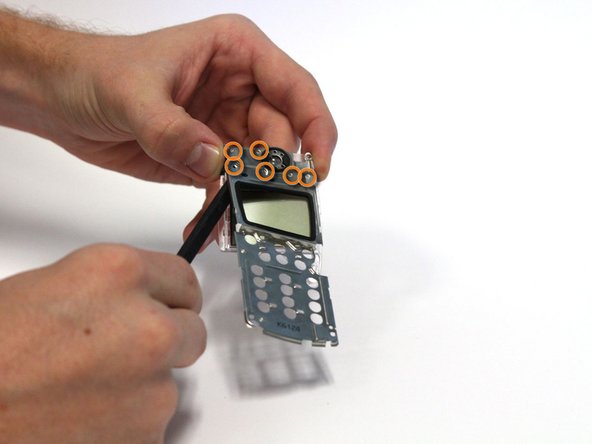
  • Using the spudger, loosen the metal cover by prying it away from the six small plastic tabs. This can be done by gently working the spudger underneath the cover and pressing up on the cover around the tabs.

  • Remove the metal cover.

À l'aide de vos doigts ou d'une sonde, desserrez les quatre petites languettes situées sur le côté du sous-ensemble de la plaque avant en pliant doucement le couvercle métallique. (Deux sont affichés sur l'image tandis que les deux autres sont de l'autre côté de l'écran).

À l'aide du spudger, desserrez le couvercle métallique en l'éloignant des six petites languettes en plastique. Cela peut se faire en travaillant doucement le spudger sous le couvercle et en appuyant sur le couvercle autour des pattes.

Retirer le couvercle métallique.

crwdns2944171:0crwdnd2944171:0crwdnd2944171:0crwdnd2944171:0crwdne2944171:0