crwdns2933423:0crwdne2933423:0

MacBook Pro 13インチ Touch Bar Late 2016のディスプレイアセンブリーの交換

crwdns2931529:0crwdnd2931529:0crwdnd2931529:0crwdnd2931529:02crwdnd2931529:0crwdne2931529:0

crwdns2935425:06crwdne2935425:0

crwdns2936315:0crwdne2936315:0
crwdns2936323:0crwdne2936323:0
crwdns2931653:06crwdne2931653:0
MacBook Pro 13" Touch Bar Late 2016 Display Assembly Replacement, Remove the screen: crwdns2935265:00crwdnd2935265:01crwdnd2935265:03crwdne2935265:0 MacBook Pro 13" Touch Bar Late 2016 Display Assembly Replacement, Remove the screen: crwdns2935265:00crwdnd2935265:02crwdnd2935265:03crwdne2935265:0 MacBook Pro 13" Touch Bar Late 2016 Display Assembly Replacement, Remove the screen: crwdns2935265:00crwdnd2935265:03crwdnd2935265:03crwdne2935265:0
Remove the screen
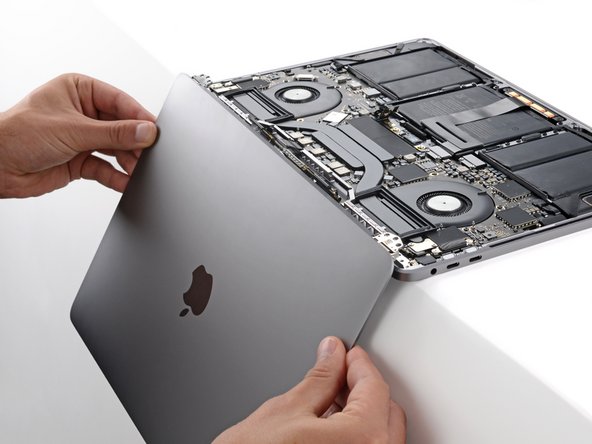
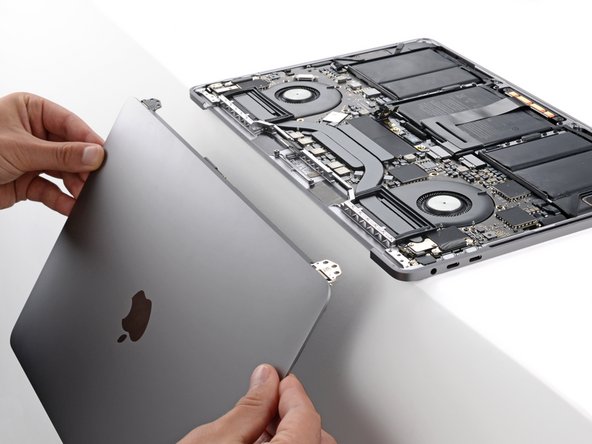
  • Free the right hinge and remove the screen.

  • During reassembly:

  • Make sure the screen hinges are fully open and guide them into their recesses in the frame.

  • Be very careful not to damage the Touch Bar connector when inserting the left hinge.

  • Partially tighten the six hinge screws.

  • Close your laptop and make sure the screen is properly aligned. If it clicks or snaps, readjust the alignment.

  • Fully tighten the hinge screws.

同様にして右側のヒンジも外すと、ディスプレイを取り外せるようになります。

組み立て直す際は、以下の点に注意して下さい。

スクリーンのヒンジがどちらも完全に開いた状態にして、筐体の切り欠きにに正しく差し込んで下さい。

左側ヒンジを差し込む際にTouch Barコネクタを破損しないように十分注意して下さい。

ヒンジ固定ネジ6本を仮締めします。

MacBookのスクリーンを閉じて、スクリーンの取り付け位置に問題がないことを確認して下さい。閉じる際に引っかかりがあったり滑らかに閉じない場合は、取り付け位置を調整し直して下さい。

問題がなければヒンジ固定ネジを本締めして下さい。

crwdns2944171:0crwdnd2944171:0crwdnd2944171:0crwdnd2944171:0crwdne2944171:0