crwdns2935425:012crwdne2935425:0


-
Unscrew and remove the 6 phillips head screws (displayed in the red circles). 2 of the screws will be apart of a bracket fixture. Once removed, also remove the small plastic bracket.
-
To remove the PCB (Printed Circuit Board) you will need to use 2 long, thin tools to press a latch - we used 2 screw drivers. Apply inward pressure at the inserts shown on image (red arrows) and pull PCB plug outwards at the same time. With some applied force, the PCB should eventually release.
-
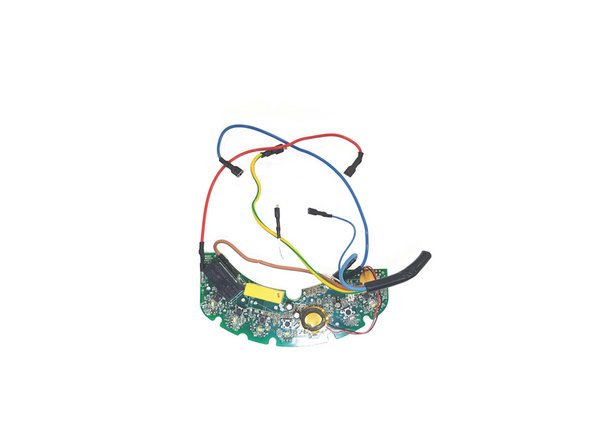
With the wire cutters, cut any necessary wires that connect the heating component to the plastic casing.
-
Once all these fixtures are removed, the heating element should seperate from the plastic base.
crwdns2944171:0crwdnd2944171:0crwdnd2944171:0crwdnd2944171:0crwdne2944171:0