crwdns2935425:06crwdne2935425:0


-
The chrome rim around the grinder will need to be alleviated with a flathead screwdriver to unhook the clips attaching it together.
-
Once the chrome rim is off, it will reveal a second white plastic rim that is secured to the grinder mechanism with three screws, unfasten these screws with a Phillips screwdriver.
-
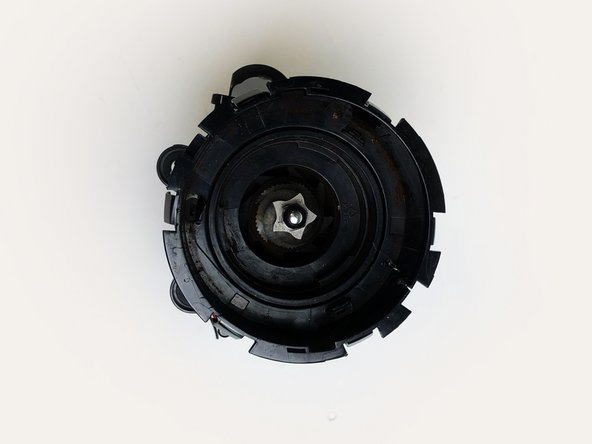
The top and middle outer casings surrounding the grinder mechanism will need to be split apart so that the mechanism can be removed. This is done with a flathead screwdriver, accompanied by a levering motion to unhook another set of clips attaching the parts together.
-
When all of the parts have been separated the grinder mechanism can be accessed.
-
To remove the metal burr grinder, use pliers and a steady grip to twist the hex nut off the top of the grinder in an anti-clockwise movement.
-
Then, remove the two accompanying washers and the part will slide off its axle.
crwdns2944171:0crwdnd2944171:0crwdnd2944171:0crwdnd2944171:0crwdne2944171:0