crwdns2933423:0crwdne2933423:0

Remplacement du joystick de la Joy-Con gauche

crwdns2935425:014crwdne2935425:0

crwdns2936315:0crwdne2936315:0
crwdns2936317:0crwdne2936317:0
crwdns2931653:014crwdne2931653:0
Left Joy-Con Joystick Replacement: crwdns2935265:00crwdnd2935265:01crwdnd2935265:03crwdne2935265:0 Left Joy-Con Joystick Replacement: crwdns2935265:00crwdnd2935265:02crwdnd2935265:03crwdne2935265:0 Left Joy-Con Joystick Replacement: crwdns2935265:00crwdnd2935265:03crwdnd2935265:03crwdne2935265:0
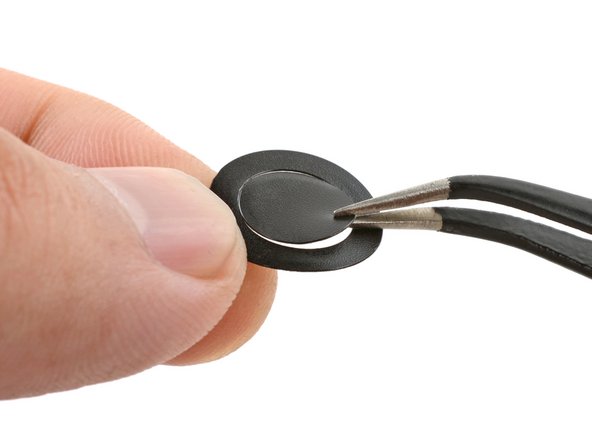
  • Peel the ring sticker from its liner.

  • If the sticker center is still attached, separate and remove it from the ring.

  • Set the ring sticker in the joystick recess and press it with your fingers for a few seconds to attach it.

Décollez l'anneau autocollant de son support.

Si le centre de l'autocollant est encore attaché, détachez-le et retirez-le de l'anneau.

Placez l'anneau autocollant dans le renfoncement du joystick et appuyez dessus avec vos doigts pendant quelques secondes, pour le fixer.

crwdns2944171:0crwdnd2944171:0crwdnd2944171:0crwdnd2944171:0crwdne2944171:0