crwdns2933423:0crwdne2933423:0

Remplacement de la coque arrière de la Nintendo Switch

crwdns2931529:0crwdnd2931529:0crwdnd2931529:0crwdnd2931529:022crwdnd2931529:0crwdne2931529:0

crwdns2935425:01crwdne2935425:0

crwdns2936315:0crwdne2936315:0
crwdns2936317:0crwdne2936317:0
crwdns2931653:01crwdne2931653:0
Nintendo Switch Rear Panel Replacement, Release the Joy Con controller locking tabs: crwdns2935265:00crwdnd2935265:01crwdnd2935265:03crwdne2935265:0 Nintendo Switch Rear Panel Replacement, Release the Joy Con controller locking tabs: crwdns2935265:00crwdnd2935265:02crwdnd2935265:03crwdne2935265:0 Nintendo Switch Rear Panel Replacement, Release the Joy Con controller locking tabs: crwdns2935265:00crwdnd2935265:03crwdnd2935265:03crwdne2935265:0
Release the Joy Con controller locking tabs
  • Before you begin this repair, make sure the device is completely powered off.

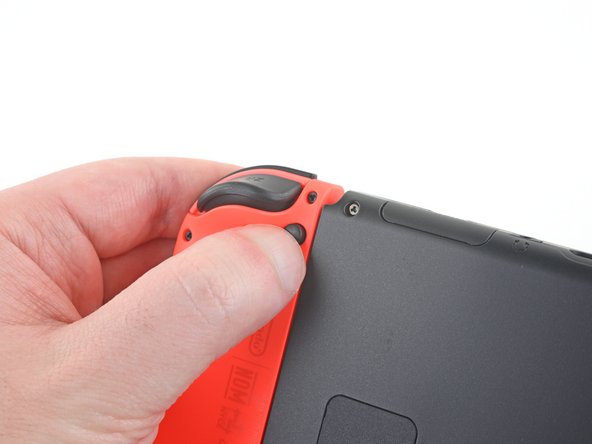
  • Press and hold down the small round button on the back of the Joy Con controller.

  • While you hold down the button, slide the controller upward.

Avant de commencer cette réparation JoyCon Switch, assurez-vous que la manette est complètement éteinte.

Appuyez sur le petit bouton rond à l'arrière de la JoyCon et maintenez-le enfoncé.

Pendant que vous maintenez le bouton enfoncé, faites glisser la Joy-Con vers le haut.

crwdns2944171:0crwdnd2944171:0crwdnd2944171:0crwdnd2944171:0crwdne2944171:0