crwdns2935425:03crwdne2935425:0
crwdns2931653:03crwdne2931653:0


-
With no exterior screws to guide the way, we attack the back cover as a possible point of entry—but after some unsuccessful heating and prying, we give up and try our luck on the display.
-
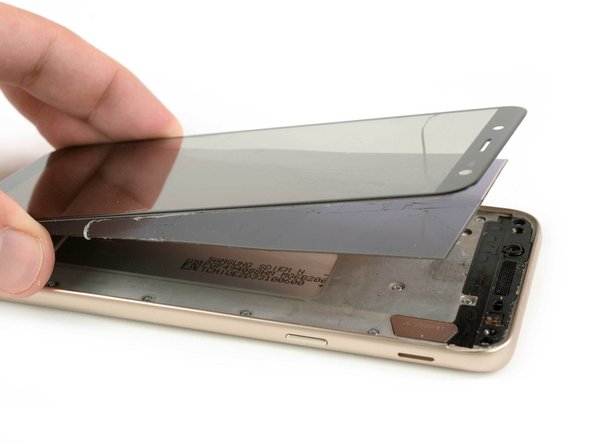
After some iOpener and iSclack action, the touch panel seems to separate pretty cleanly. Is this a repairable, non-bonded display like back in the old days?
-
Sadly, no—it seems we were foiled by some extra-strong adhesive under the sAMOLED panel, which held fast while the touch panel glue gave way. End result: busted display.
-
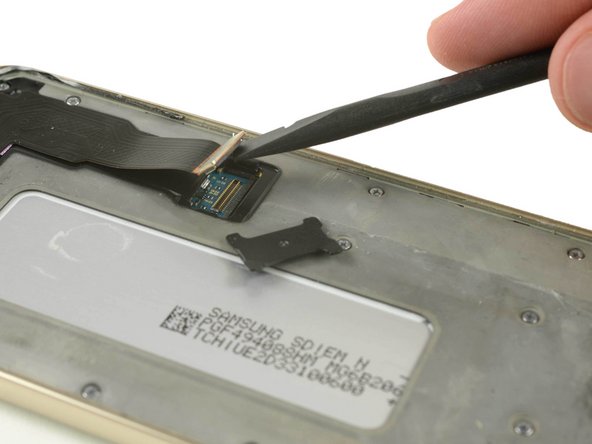
We unplug the protected connector and remove the newly unfused display assembly to continue our journey.
crwdns2944171:0crwdnd2944171:0crwdnd2944171:0crwdnd2944171:0crwdne2944171:0