crwdns2933423:0crwdne2933423:0

Moto G4 LCD/Touchscreen Einheit austauschen

crwdns2931527:0crwdnd2931527:0crwdnd2931527:0crwdnd2931527:0crwdne2931527:0

crwdns2936315:0crwdne2936315:0
crwdns2936319:0crwdne2936319:0
crwdns2931653:011crwdne2931653:0
Moto G4 LCD Screen and Digitizer Assembly Replacement: crwdns2935265:00crwdnd2935265:01crwdnd2935265:02crwdne2935265:0 Moto G4 LCD Screen and Digitizer Assembly Replacement: crwdns2935265:00crwdnd2935265:02crwdnd2935265:02crwdne2935265:0
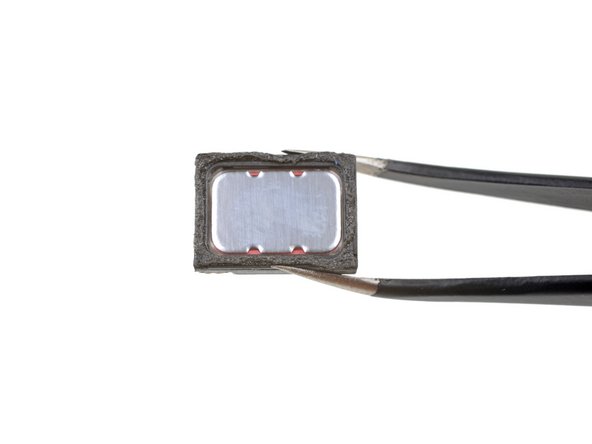
  • Remove the earpiece speaker.

  • Check the condition of the adhesive around the bottom of the earpiece speaker when you reinstall it. A little heat from a hair dryer or iOpener can help soften the adhesive and make it sticky again. Be careful not to touch or damage the surface of the speaker.

  • In some of the previous photos in this guide, the speaker is shown installed incorrectly. During installation, make sure the speaker's two spring contacts are located at the bottom corners, as shown in the first image in this step. Images showing the speaker rotated 180° (with the spring contacts near the top edge of the phone) are incorrect.

Entferne den Ohrhörer-Lautsprecher.

Überprüfe vor dem Wiedereinbau, ob der Kleber am Boden des Ohrhörer-Lautsprechers noch gut haftet. Mit etwas Wärme von einem Haartrockner kannst du den Kleber wieder weich und klebrig machen. Achte darauf, die Oberfläche des Lautsprechers nicht zu berühren oder zu beschädigen.

In einigen der vorigen Bilder wird der Ohrhörerlautsprecher falsch eingebaut gezeigt. Achte beim Zusammenbau darauf, dass die beiden Federkontakte des Lautsprechers in den unteren Ecken sind, so wie im ersten Bild gezeigt. Die Bilder, in denen die Kontakte um 180° gedreht sind (mit den Federkontakten nahe der Oberkante des Smartphones) sind falsch.

crwdns2944171:0crwdnd2944171:0crwdnd2944171:0crwdnd2944171:0crwdne2944171:0