crwdns2931529:0crwdnd2931529:0crwdnd2931529:0crwdnd2931529:07crwdnd2931529:0crwdne2931529:0
crwdns2935425:01crwdne2935425:0
crwdns2931653:01crwdne2931653:0


-
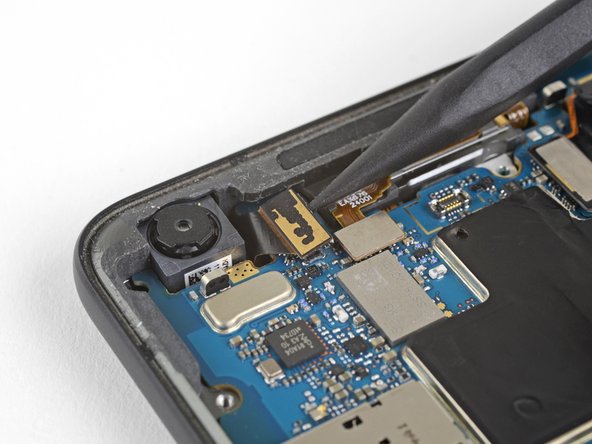
Use the point of a spudger to disconnect the front-facing camera connector.
| - | [* red] Disconnect the white cable attached to the board. |
|---|---|
| - | [* black] Once all tabs are disconnected, use the plastic opening tool to seperate the motherboard from the edges. |
| - | [* icon_note] The perimeter of the motherboard is often positioned under the edge of the phone casing, so be careful when prying. Attempt to seperate the top portion of the motherboard first. |
| - | [* black] Remove the motherboard from the device. |
| + | [* black] Use the point of a spudger to disconnect the front-facing camera connector. |
| + | [* icon_reminder] During reassembly, it's easiest to attach the front camera to the motherboard, then insert the motherboard. |
crwdns2944171:0crwdnd2944171:0crwdnd2944171:0crwdnd2944171:0crwdne2944171:0