crwdns2931529:0crwdnd2931529:0crwdnd2931529:0crwdnd2931529:0153crwdnd2931529:0crwdne2931529:0
crwdns2935425:021crwdne2935425:0
crwdns2931653:021crwdne2931653:0


-
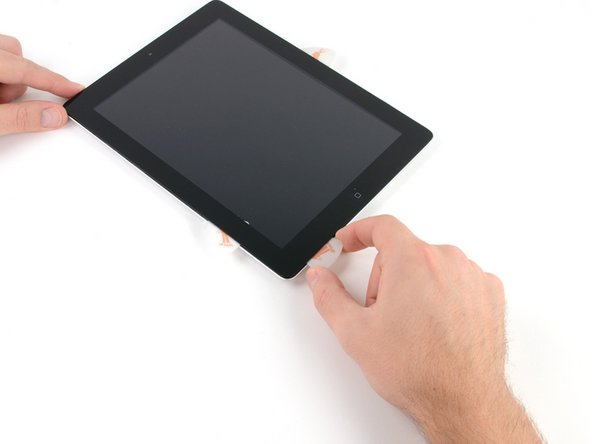
Using the opening pick that is still underneath the bottom edge of the iPad, release the adhesive along the bottom left corner.
| [* black] Using the opening pick that is still underneath the bottom edge of the iPad, release the adhesive along the bottom left corner. | |
| - | [* icon_caution] The bottom of the digitizer cable is only ~1" from the bottom of the iPad. Work carefully and slowly, making sure to not sever this cable. |
| + | [* icon_caution] The bottom of the digitizer cable is only ~1" (25 mm) from the bottom of the iPad. Work carefully and slowly, making sure to not sever this cable. |
crwdns2944171:0crwdnd2944171:0crwdnd2944171:0crwdnd2944171:0crwdne2944171:0