crwdns2933423:0crwdne2933423:0

iPad 3 4G フロントパネルの取り外し

crwdns2931529:0crwdnd2931529:0crwdnd2931529:0crwdnd2931529:0153crwdnd2931529:0crwdne2931529:0

crwdns2936315:0crwdne2936315:0
crwdns2936323:0crwdne2936323:0
crwdns2931653:018crwdne2931653:0
Removing iPad 3 4G Front Panel: crwdns2935265:00crwdnd2935265:01crwdnd2935265:03crwdne2935265:0 Removing iPad 3 4G Front Panel: crwdns2935265:00crwdnd2935265:02crwdnd2935265:03crwdne2935265:0 Removing iPad 3 4G Front Panel: crwdns2935265:00crwdnd2935265:03crwdnd2935265:03crwdne2935265:0
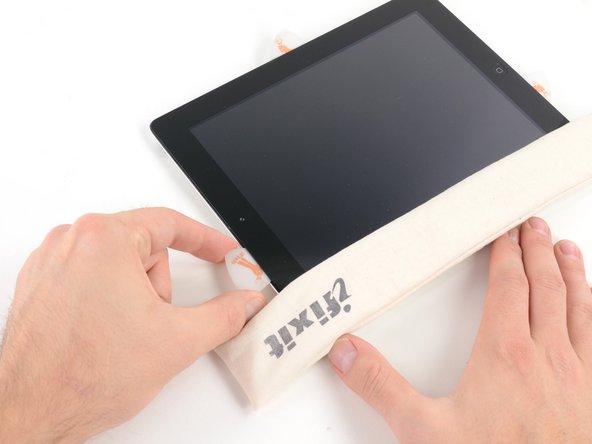
  • Slide the opening pick along the top edge of the iPad, pulling it out slightly to go around the front-facing camera bracket.

  • The adhesive along this section is very thick, and a fair amount of force may be required. Work carefully and slowly, making sure to not slip and damage yourself or your iPad.

  • If the adhesive has cooled too much, replace the iOpener along the top edge and continue working. If the iOpener has cooled too much, reheat it.

  • If the opening pick is getting stuck in the adhesive, "roll" the pick as shown in step 9.

開口ピックをiPadの上端に沿ってスライドさせ、フロント向きカメラのブラケット周辺では少し引き抜いてください。

この部分の接着剤は非常に厚く、かなりの力が必要になる場合があります。 iPadが滑ったり損傷したりしないように注意して、慎重に作業してください。

接着剤が冷却している場合、上端に沿って温めたiOpenerを載せて、接着剤が柔らかくなったら、作業を続けます。

開口ピックが接着剤に詰まって動かない場合は、手順9を参照しながら、開口ピックを”回転/捻る”ように移動させます。

crwdns2944171:0crwdnd2944171:0crwdnd2944171:0crwdnd2944171:0crwdne2944171:0