crwdns2935425:02crwdne2935425:0
crwdns2931653:02crwdne2931653:0


-
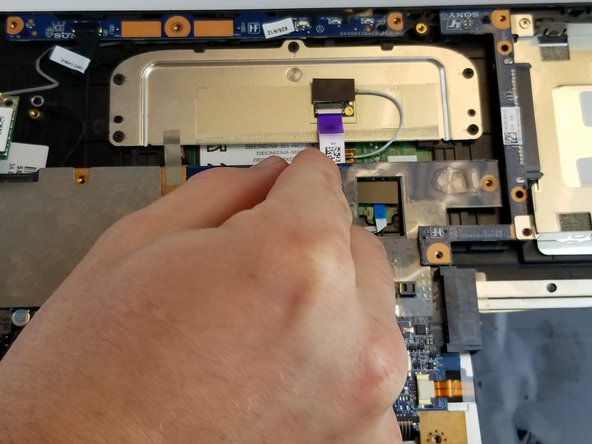
Once the all screws have been removed, you can start removing connections from the motherboard. Begin with the highlighted connections.
-
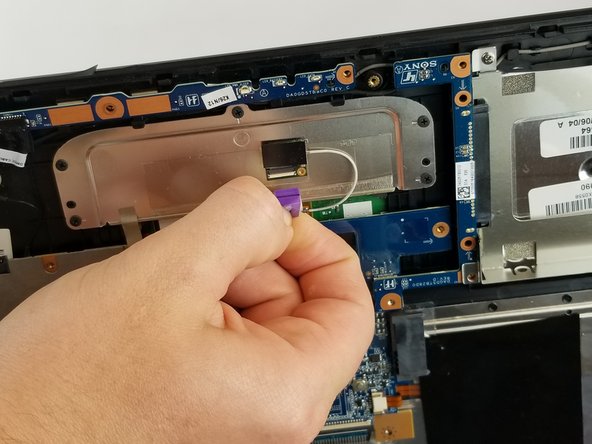
The following connections have plastic tabs coming off of them. Simply grab the tab with two fingers, or tweezers if the tab is difficult to access, and carefully pull the connection straight out.
| [* red] Once the all screws have been removed, you can start removing connections from the motherboard. Begin with the highlighted connections. | |
| - | [* red] The following connections have plastic tabs coming off of them. Simply grab the tab with two fingers, or tweezers if the tab is difficult to access, and carefully pull the connection straight out. |
| + | [* red] The following connections have plastic tabs coming off of them. Simply grab the tab with two fingers, or [product|IF145-020|tweezers] if the tab is difficult to access, and carefully pull the connection straight out. |
crwdns2944171:0crwdnd2944171:0crwdnd2944171:0crwdnd2944171:0crwdne2944171:0