crwdns2935425:07crwdne2935425:0
crwdns2931653:07crwdne2931653:0

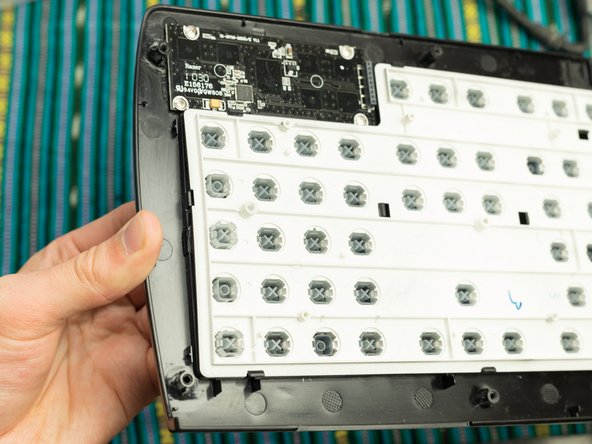


Separating the front plate
-
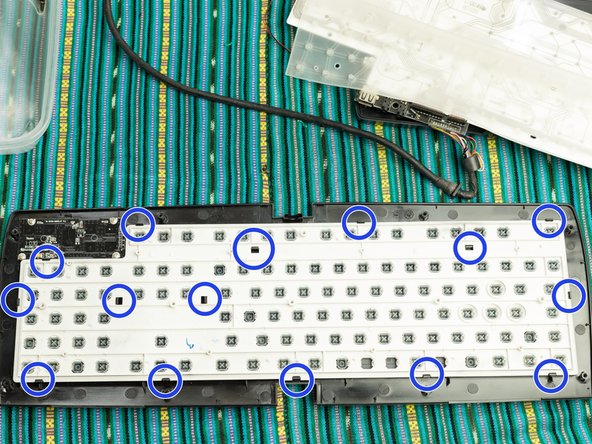
Push with moderate force to separate the keyframe (beige) from the front plate (black).
-
You should apply pressure at each hook (marked in blue).
-
Optional: prior to completing this step, remove all keycaps from the frame (Step 9). This may make it easier for you to apply pressure to the board, with less fear of breakage from undue force.
crwdns2944171:0crwdnd2944171:0crwdnd2944171:0crwdnd2944171:0crwdne2944171:0