crwdns2935425:08crwdne2935425:0
crwdns2931653:08crwdne2931653:0


-
Now, lift that big slab of battery off. (basically taking everything you can out of the thing.) Then the fan.
-
The screw in this picture is a big white one (it may be not), because you end up with one extra big white one after using up all the multi-layer holes.
-
Now it's a good time to wash the fan. (it's okay to do it with water, I did it that way.) Just make sure they are 200% dry before connecting them to power.
-
Take out those speakers--those are going to get into your way when you try to lift off the motherboard.
-
At least, the right one.
-
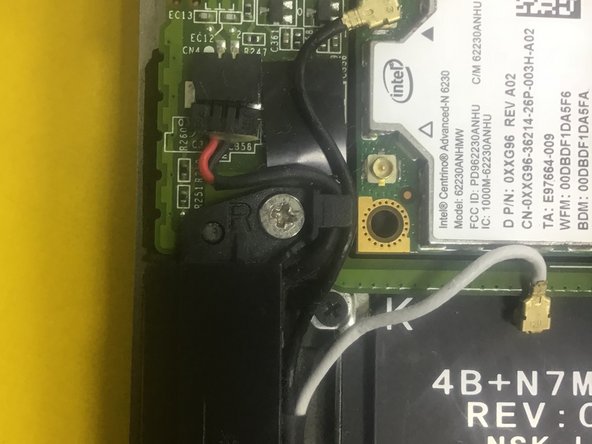
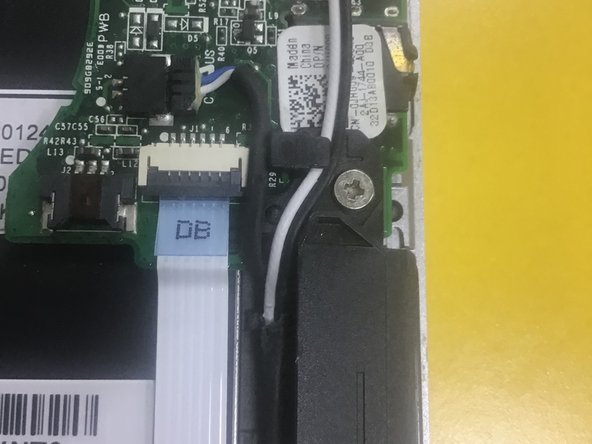
Pictured are the proper wiring of the left and right speakers. (ESPECIALLY the right sided one -- the one on the motherboard)
crwdns2944171:0crwdnd2944171:0crwdnd2944171:0crwdnd2944171:0crwdne2944171:0