crwdns2935425:06crwdne2935425:0
crwdns2931653:06crwdne2931653:0


-
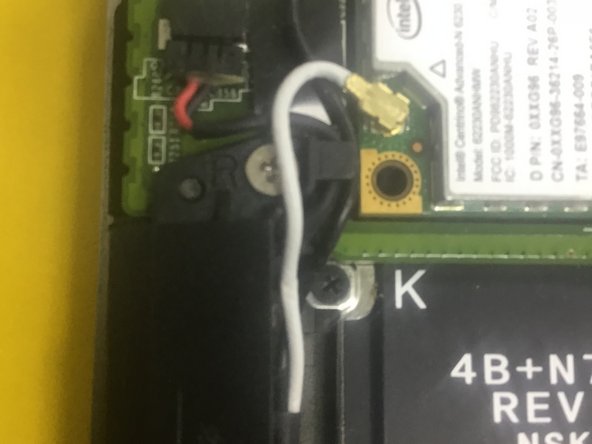
The ribbon cable connects basically half of the machine to the other.
-
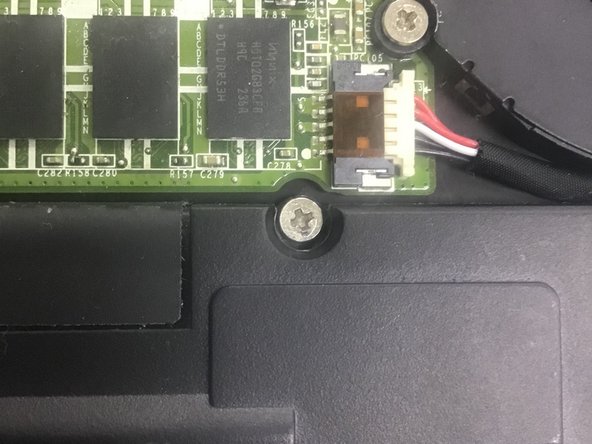
Electricity from the plug is directly connected to the motherboard through a plug beneath it.
-
Don't forget about the keyboard's TWO cables-the "keys" and the backlight. They are held down by unnecessary adhesive. (but keep them there, so you won't snag them)
-
Use a tweezer/opener on the cable housing, but it's OKAY to use hand as long as you are gentle. I would recommend ... plastic spoons.
crwdns2944171:0crwdnd2944171:0crwdnd2944171:0crwdnd2944171:0crwdne2944171:0