crwdns2933423:0crwdne2933423:0

Asus Zenbook UX32VD Teardown

crwdns2936315:0crwdne2936315:0
crwdns2936317:0crwdne2936317:0
crwdns2931653:019crwdne2931653:0
Asus Zenbook UX32VD Teardown: crwdns2935265:00crwdnd2935265:01crwdnd2935265:03crwdne2935265:0 Asus Zenbook UX32VD Teardown: crwdns2935265:00crwdnd2935265:02crwdnd2935265:03crwdne2935265:0 Asus Zenbook UX32VD Teardown: crwdns2935265:00crwdnd2935265:03crwdnd2935265:03crwdne2935265:0
  • In addition to a couple Phillips screws, each side of the display assembly was held to the upper case with a 4 mm hex nut. Asus may try as they like, but with our 54-bit driver kit in hand, no fastener is secure for long.

  • For the record, the hex nuts weren't meant to be a deterrent to self-service, but rather a means of space saving. In addition to holding down the display assembly, the top of each hex nut was drilled and tapped to hold one of the motherboard screws.

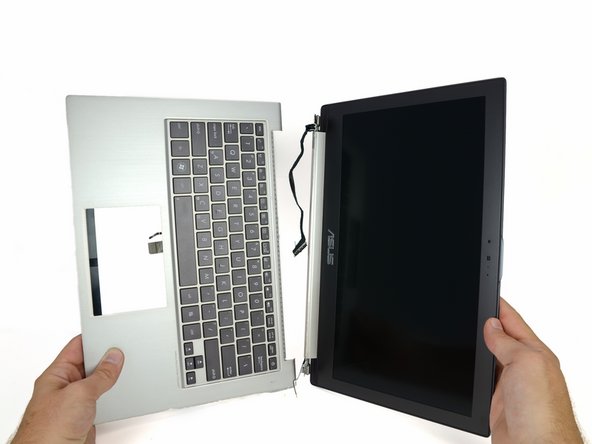
  • The display assembly comes off pretty easily and we're left with the upper case that houses the backlit keyboard.

  • Just like the unibody MacBooks, the keyboard in the Zenbook cannot be removed from the upper case, which means the two must be replaced simultaneously.

crwdns2935429:0crwdne2935429:0

crwdns2935429:0crwdne2935429:0

crwdns2935429:0crwdne2935429:0

crwdns2935429:0crwdne2935429:0

crwdns2944171:0crwdnd2944171:0crwdnd2944171:0crwdnd2944171:0crwdne2944171:0