crwdns2933423:0crwdne2933423:0

Fix False Paper Jam Error.

crwdns2936315:0crwdne2936315:0
crwdns2936321:0crwdne2936321:0
crwdns2931653:03crwdne2931653:0
Fix False Paper Jam Error., Dissemble Sprung Cog Assembly: crwdns2935265:00crwdnd2935265:01crwdnd2935265:03crwdne2935265:0 Fix False Paper Jam Error., Dissemble Sprung Cog Assembly: crwdns2935265:00crwdnd2935265:02crwdnd2935265:03crwdne2935265:0 Fix False Paper Jam Error., Dissemble Sprung Cog Assembly: crwdns2935265:00crwdnd2935265:03crwdnd2935265:03crwdne2935265:0
Dissemble Sprung Cog Assembly
  • You should now be able to see, covered in lots of ink, the broken spring. My pictures were taken during reassembly, after I had given everything a thorough cleaning.

  • It is much nicer to work on this if you first give it a thorough cleaning. To do this you either need to remove the ink-soaked pads, (some of which are glued in), or wash the entire assembly with the pads in place, which means you will need to leave them a long time to dry.

  • My replacement spring, shown in these pictures, was wound from some fine music wire I had on hand, It is too flimsy, but seems to work OK. You should use a more substantial spring than this.

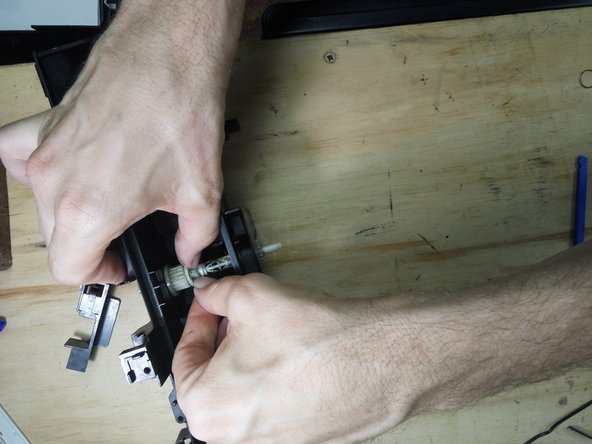
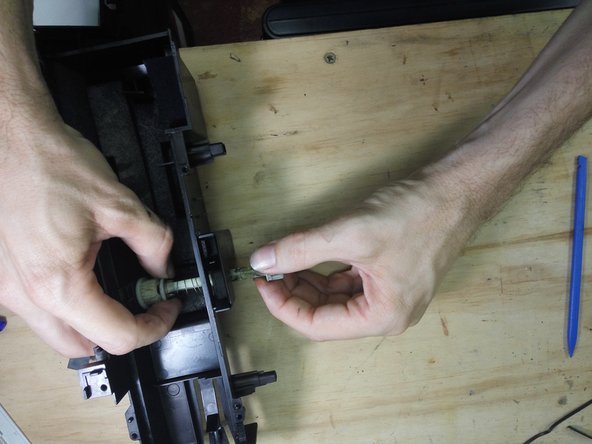
  • Open the clips on each side of the bar, allowing the spring retainer to move.

  • Slide the bar out the left hand side of the cleaning station, pulling the end cog and the spring retainer off the bar.

crwdns2935429:0crwdne2935429:0

crwdns2935429:0crwdne2935429:0

crwdns2935429:0crwdne2935429:0

crwdns2935429:0crwdne2935429:0

crwdns2935429:0crwdne2935429:0

crwdns2944171:0crwdnd2944171:0crwdnd2944171:0crwdnd2944171:0crwdne2944171:0