crwdns2915892:0crwdne2915892:0
If your Roomba Robot e5 isn't working as it once was this guide is perfect for you. When used for long periods of time in a big house with pets and many debris, the vacuum starts wearing down. They then start cleaning less and less. When that happens, it is important to replace or clean the brushes and change the filter.
This guide illustrates how to replace the iRobot Roomba e5 (5134) Wi-Fi Connected Robot Vacuum: Edge Sweeping Brush, two Multi-Surface Brushes and the Dust Bin filter.
Before beginning, make sure you have a wide and flat space (preferably a wide table) that can get dirty. When disassembling some parts it is very likely dust and dirt will fall off from the vacuum, particularly in Step 3.
crwdns2942213:0crwdne2942213:0
-
-
To remove the edge sweeping brush, use a Phillips #0 screwdriver to remove the 8 mm screw holding it in place.
-
-
-
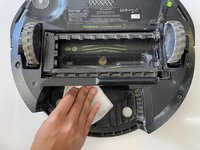
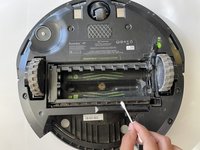
To remove the two multi-surface brushes, lift the adjacent piece by pressing down the green lever and pulling it up.
-
Then remove the brushes by lifting them by the right side.
-
-
-
-
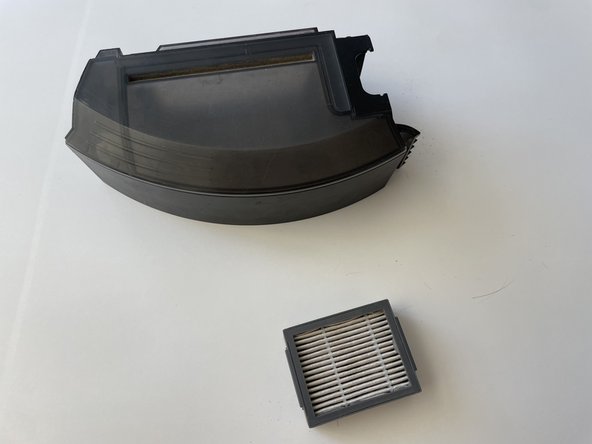
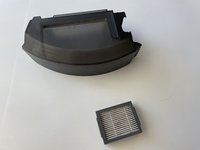
To remove the dust bin, press down on the button with a “trash bin” drawing by the side of the vacuum.
-
While pressing the button, gently pull the dust bin out.
-
-
-
To remove the filter located at the right side of the dust bin, press the filter on top and at the bottom and pull.
-
-
-
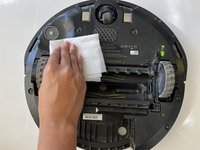
Clean every part of the vacuum thoroughly with a dust rag or paper towel and Q-tip.
-


To reassemble your device, follow these instructions in reverse order.
To reassemble your device, follow these instructions in reverse order.
crwdns2935221:0crwdne2935221:0
crwdns2935227:0crwdne2935227:0

crwdns2915084:0crwdne2915084:0

University of Puerto Rico Mayagüez, Team 2-24, Cools Stephens Spring 2022 crwdns2935289:0University of Puerto Rico Mayagüez, Team 2-24, Cools Stephens Spring 2022crwdne2935289:0
UPRM-COOLS STEPHENS-S22S2G24
crwdns2934841:01crwdne2934841:0
crwdns2935303:01crwdne2935303:0