crwdns2915892:0crwdne2915892:0
This easy guide show you the steps to remove and replace the extractor assembly on your roomba.
crwdns2942213:0crwdne2942213:0
-
-
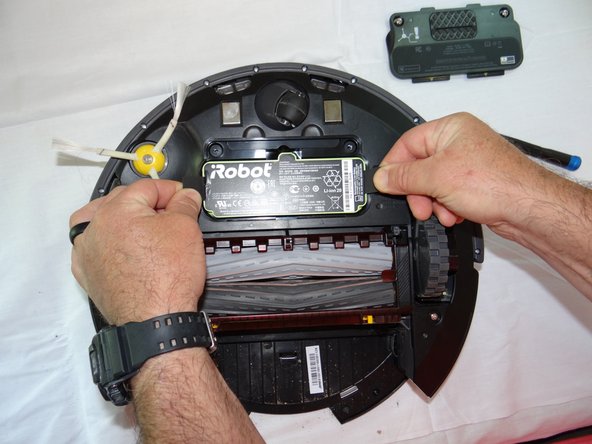
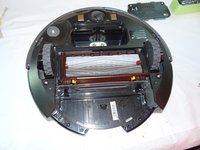
Start by flipping your Roomba onto its back on a flat surface.
-
-
-
Unscrew both the 11mm Phillips #2 screws from the battery cover and remove cover from the Roomba.
-
-
-
Grasp the tabs on either side of the battery.
-
Remove the battery by pulling up on the tabs.
-
While you're here, check the battery contacts for corrosion or debris.
-
-
-
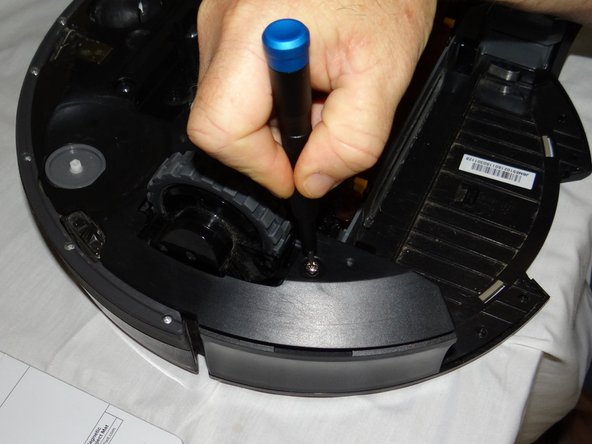
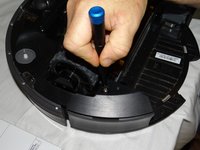
Remove the 7.5mm flat head #4 screw from center of the side brush.
-
-
-
-
Gently pull the side brush off of the motor hub.
-
-
-
Remove the dustbin assembly from the Roomba.
-
-
-
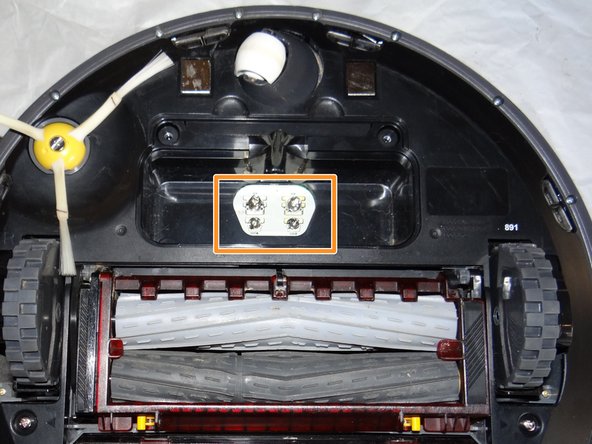
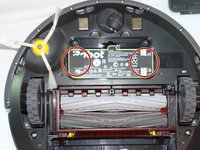
Unscrew the 2 phillips #2 11mm screws from roomba.
-
-
-
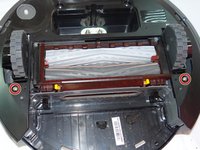
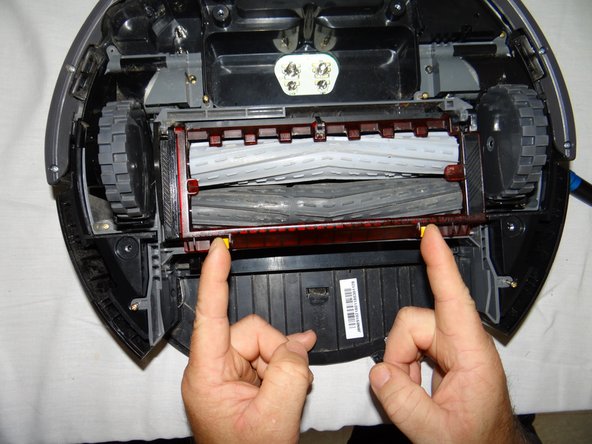
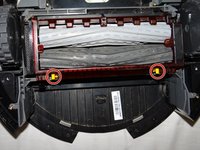
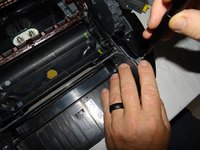
Lift the yellow tabs and lift the red cover from the extractor assembly.
-
-
-
Remove the rollers from the assembly by lifting it out from right side.
-
-
-
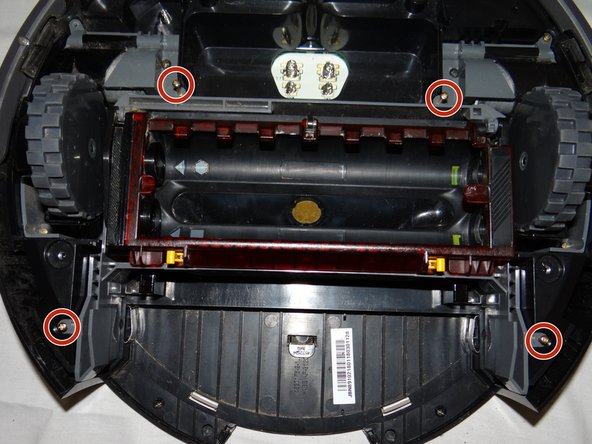
Close the cover and remove the four 11mm Phillips #00 screws from the assembly.
-
-
-
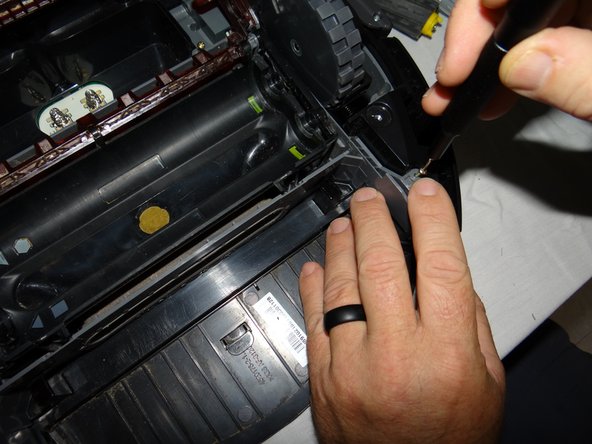
Grasp the center of the assembly and remove from the roomba.
-


To reassemble your device, follow these instructions in reverse order.
To reassemble your device, follow these instructions in reverse order.
crwdns2915084:0crwdne2915084:0

South Arkansas Community College, Team S1-G1, Mitchell Summer 2019 crwdns2935289:0South Arkansas Community College, Team S1-G1, Mitchell Summer 2019crwdne2935289:0
SACC-MITCHELL-SU19S1G1
crwdns2931471:02crwdne2931471:0
crwdns2935297:05crwdne2935297:0