crwdns2915892:0crwdne2915892:0
This guide addresses the removal of a malfunctioning or broken Roomba IR sensor. Roomba IR sensors measure how close a Roomba is to a wall or object and create a map of the cleaning area. The sensor can become defective when obscured with dust or lint. You will remove the exterior plates and casings of the Roomba to reach the motherboard where the sensor is attached. To reassemble the Roomba after the replacement, follow the steps in reverse.
crwdns2942213:0crwdne2942213:0
-
-
Use a Phillips #2 screwdriver to remove the two 11 mm screws.
-
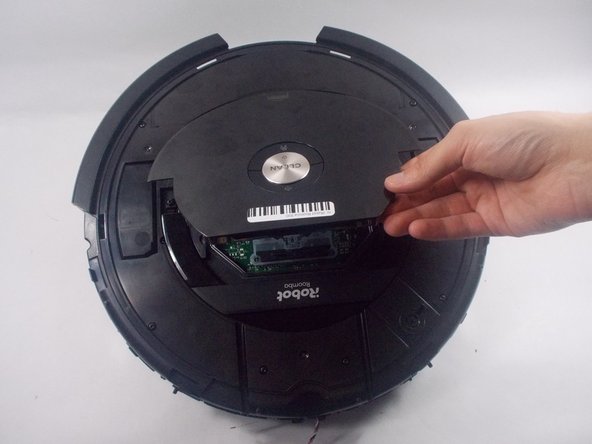
Remove the battery cover.
-
-
-
Pull directly up on the grey pull-tabs to remove the battery.
-
-
-
Use a Phillips #2 screwdriver to remove the one 7.7 mm screw.
-
Remove the yellow brush head.
-
-
-
-
Use a Phillips #2 screwdriver to unscrew the two 11 mm screws.
-
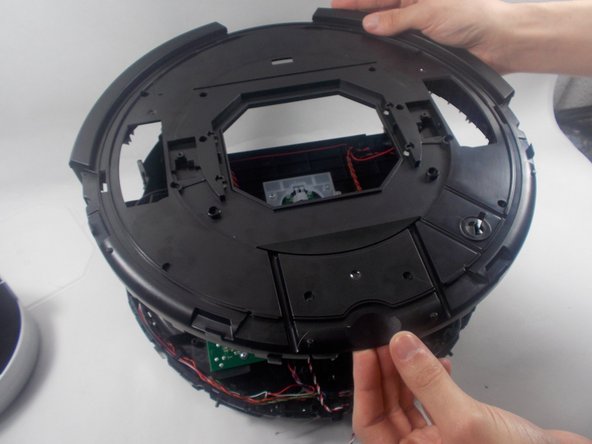
Lift the baseplate up and off.
-
-
-
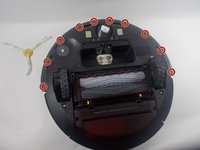
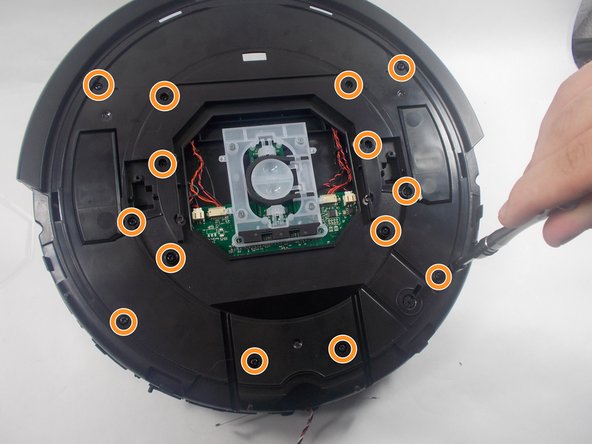
Use a Phillips #1 screwdriver to remove the ten 9.3 mm screws.
-
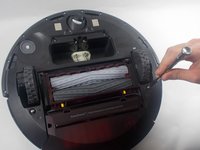
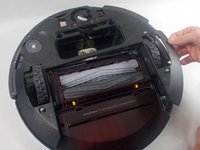
Remove the bumper retainer ring.
-
-
-
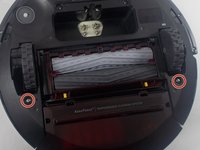
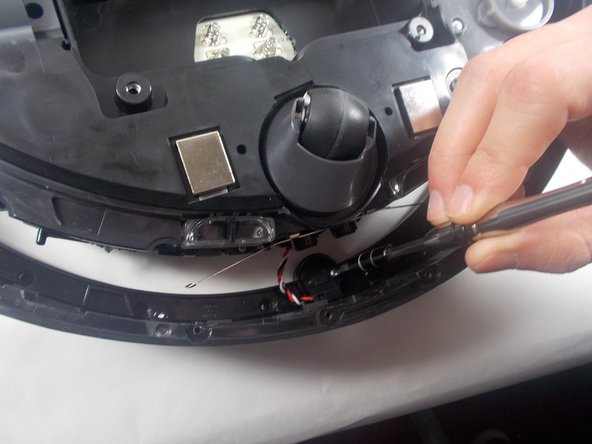
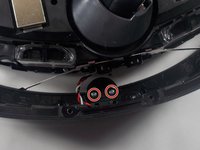
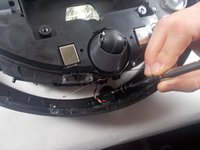
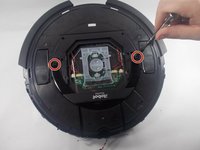
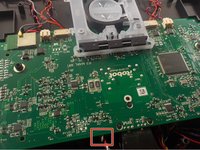
Use a Phillips #2 screwdriver to remove the two 7.5 mm screws holding the IR sensor in place.
-
-
-
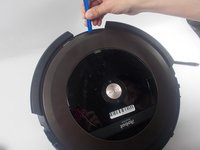
Use an iFixit opening tool to remove the outer plastic covering from the top of the Roomba.
-
-
-
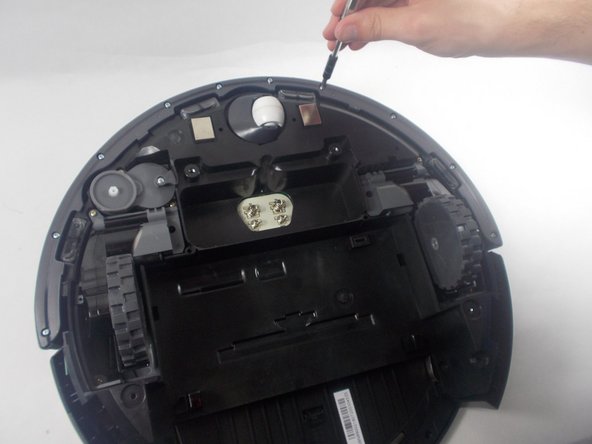
Use a Phillips #1 screwdriver to remove the two 9.5 mm handlebar screws; then remove the handle.
-
Use a Phillips #1 screwdriver to remove the fourteen 9.5 mm top plate screws.
-
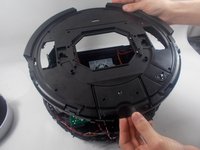
Lift off the top plate.
-
-
crwdns2935267:0crwdne2935267:0Tweezers$3.99
-
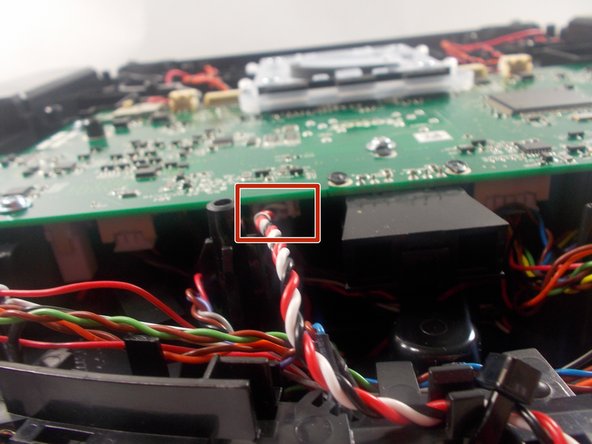
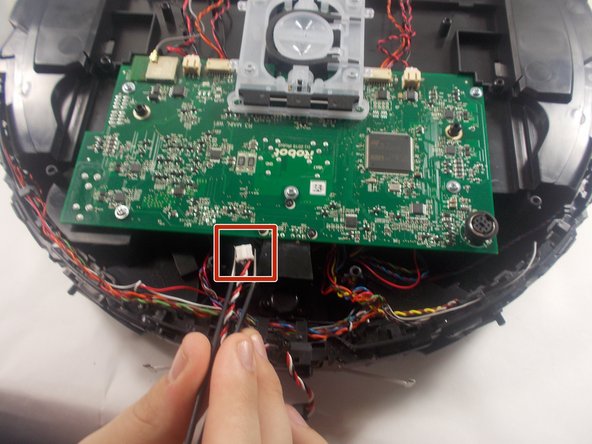
Use a pair of angled tweezers to firmly grip the IR sensor plug, and pull it directly backwards to release it from the motherboard.
-


To reassemble your device, follow these instructions in reverse order.
crwdns2935221:0crwdne2935221:0
crwdns2935229:02crwdne2935229:0
crwdns2935287:0crwdne2935287:0

UMass Dartmouth, Team 1-3, Petersen Spring 2022 crwdns2935289:0UMass Dartmouth, Team 1-3, Petersen Spring 2022crwdne2935289:0
UMASSD-PETERSEN-S22S1G3
crwdns2931471:03crwdne2931471:0
crwdns2935297:014crwdne2935297:0