crwdns2915892:0crwdne2915892:0
Use this "Prerequisite Only" guide for removing the top silver and black panels for other replacements in the Roomba 560.
crwdns2942213:0crwdne2942213:0
-
-
Flip the Roomba upside down.
-
Unscrew the single 5 mm screw on the yellow side sweeper using the Phillips #2 driver.
-
-
-
Lift the yellow side sweeper, removing it from the device.
-
-
-
Using the Phillips #2 driver, remove the four 10 mm screws that hold the back panel in place.
-
-
-
Lift up the back panel to remove it from the device.
-
-
-
Lift up the yellow battery by pulling up the green tabs on its side.
-
-
-
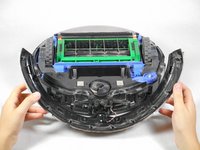
Rotate the Roomba so the bumper is in front of you.
-
-
-
-
Using the Phillips #1 driver, remove the ten 10 mm screws on the bumper that run along the outer edge of the Roomba.
-
-
-
Lift the thin top cover that holds the bumper in place.
-
-
-
Gently lift the device upwards from the bumper to detach these two pieces.
-
-
-
Lift the bumper upwards for easier access.
-
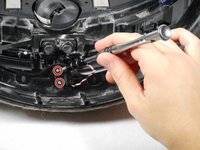
Unscrew the two 5 mm screws that connect the red and white wires to the device using the Phillips #1 driver.
-
-
-
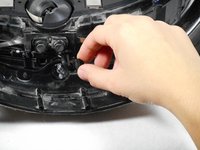
Lift the circular black panel off the lens.
-
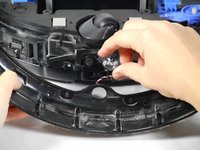
Lift the clear lens that is on the other side of the bumper and replace it with a new lens.
-
-
-
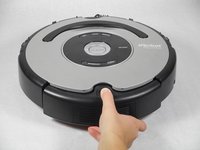
Turn the device over so that it is face up with the vacuum bin in front of you .
-
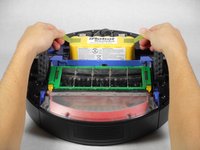
Press the button of the vacuum bin and pull out the bin from the device.
-
-
-
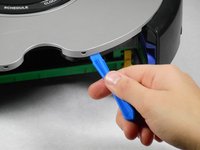
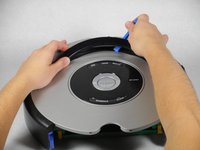
Use your hands to unhook the snaps between the silver panel from the black panel located where the vacuum bin was.
-
-
-
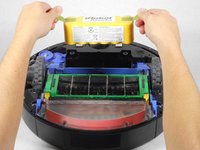
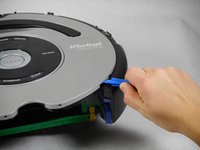
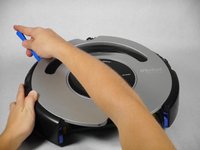
Using the plastic opening tool, go around the outer edges of the silver panel and unhook the snaps holding it in place.
-
-
-
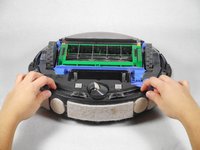
Lift the black handle and use the plastic opening tool to unhook the snaps underneath it.
-
Use the same tool to pry the silver cover from the black central control board.
-
-
-
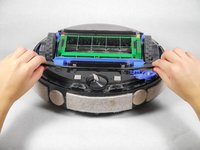
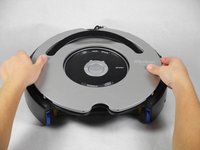
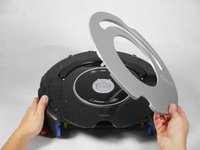
Lift the silver panel off of the black panel.
-
-
-
Use a Phillips #2 screwdriver to remove the following screws:
-
Two 7.5 mm-long screws at either end of the semicircular handle
-
Ten 5 mm-long screws
-
Use a Phillips #1 screwdriver to remove the 5 mm-long screw at the bottom of the control board.
-
-
-
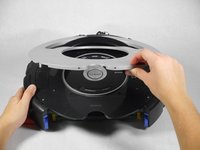
Lift the black panel off the device.
-


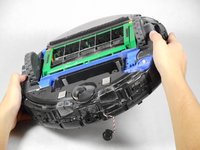


To reassemble your device, follow these instructions in reverse order.
To reassemble your device, follow these instructions in reverse order.
crwdns2915084:0crwdne2915084:0

Cal Poly, Team 1-22, Maness Fall 2015 crwdns2935289:0Cal Poly, Team 1-22, Maness Fall 2015crwdne2935289:0
CPSU-MANESS-F15S1G22
crwdns2931471:04crwdne2931471:0
crwdns2935297:014crwdne2935297:0