crwdns2915892:0crwdne2915892:0
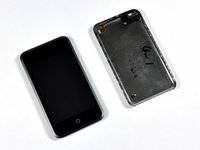
This guide shows how to replace the front panel on the 1st Generation iPod Touch.
crwdns2942213:0crwdne2942213:0
-
-
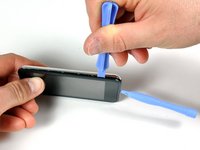
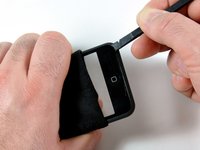
Insert the small plastic opening tool into the seam in between plastic display panel and the metal back panel. The angled edge should point towards the metal back panel.
-
Hold the tool in place once it is wedged inside and the two panels are separated.
 crwdns2952109:0crwdne2952109:0
-
-
-
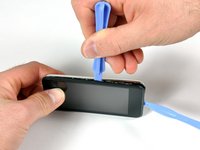
Insert the large opening tool into the right side of the iPod, with the edge of the tool pointing towards the metal back.
-
Gently enlarge the existing crevice by wiggling the large opening tool and moving it to the right.
-
Continue doing so until the right side of the iPod is loose.
-
-
-
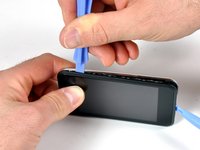
Switch to the other side of the iPod.
-
Follow the same procedure as in the previous step to release the seven clips holding the panels in place.
-
Once the panels are separated on this side, the back panel can be separated from the rest of the iPod.
-
-
-
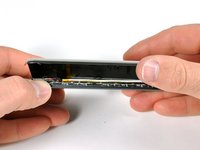
Gently lift the rear panel using your fingers.
-
The front and back of the iPod should now be completely separated.
-
-
-
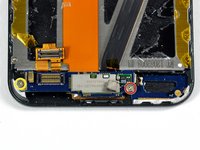
Flip the iPod 180 degrees so it matches the orientation in the picture.
-
Carefully insert the spudger in between the battery and the display. There are routing cables underneath, so make sure you slowly pry the battery loose.
-
-
-
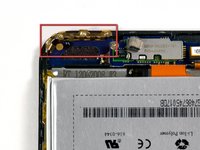
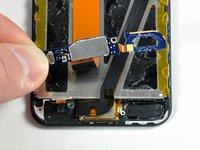
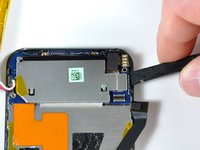
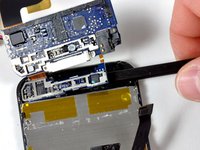
Use a spudger (or your fingernails) to remove the gold antenna. The antenna bends easily, so make sure not to apply too much pressure. When re-assembling, put the gold antenna in place before inserting the antenna circuit boards.
-
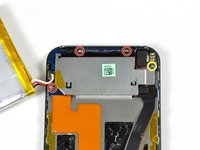
Use the spudger to remove the connector on the left side.
-
Remove the 2.4 mm Phillips screw.
-
Remove the 1.6 mm Philips screw.
-
-
-
-
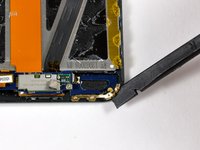
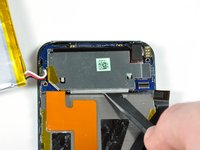
The antenna loop board needs to be pried up (it is glued down). Gently use a plastic opening tool or spudger, to dislodge the antenna loop board. The board is connected to the antenna electronics by a small ribbon cable. This two-board assembly is very frail.
-
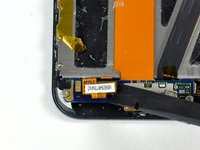
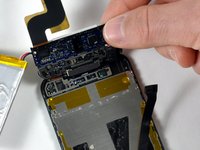
The two small antenna circuit boards can now be lifted up together, and their orange cable can be peeled from the display.
-
-
-
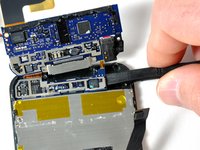
Use the spudger to remove the black masking tape. This will reveal the top two screws in the picture.
-
Unscrew the three 2.4 mm Phillips screws.
-
Unscrew the 3.8 mm Philips screw.
-
Use a spudger to disconnect the black connector.
-
Use a spudger to disconnect the black connector.
-
-
-
Use the spudger to loosen the logic board from multiple sides. It is held in place by glue and the four screws that were removed in the previous step.
-
-
-
Gently lift the logic board (and attached components) upward.
-
Slide the spudger under the small portion of the logic board. The board should come loose once the spudger has slid almost all the way to the other side.
-
-
-
The logic board and battery can now be fully separated from the rest of the iPod.
-
-
-
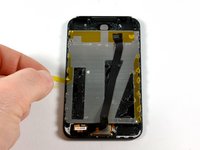
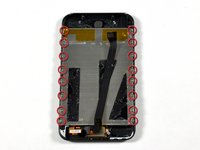
Peel the orange tape up covering the sixteen Phillips screws on the back of the display.
-
Use a #00 Phillips screwdriver to remove the sixteen screws.
-
-
-
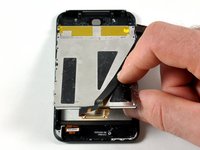
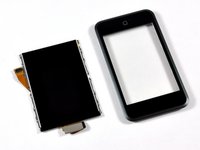
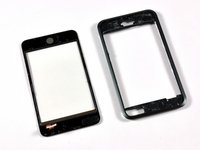
Separate the display from the front panel by gently lifting it.
-
The display and the front panel should now be completely separated.
-
-
-
Use a hair dryer or heat gun to loosen the glue around the perimeter of the front panel.
-
-
-
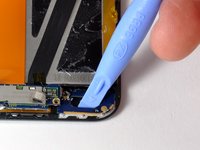
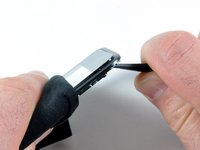
Wedge the spudger in between the frame and front display in the upper left corner of the iPod, as shown in the first picture.
-
-
-
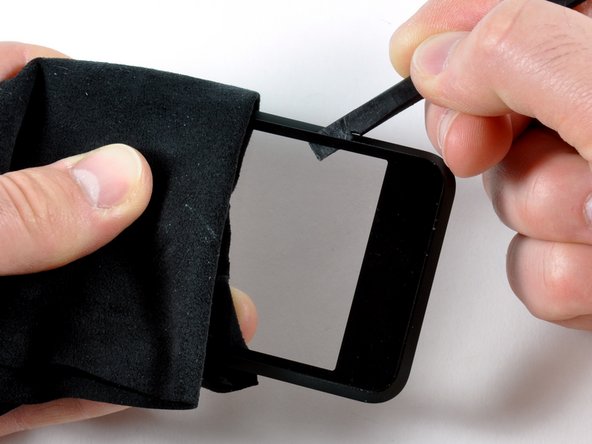
Gently insert the spudger in between the frame and front display.
-
Carefully work around the edge of the front panel to separate the upper portion of the front panel from the black metal framework.
-
-
-
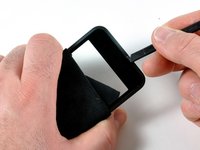
Rotate the iPod 180 degrees and re-heat the exposed side with hair dryer/heat gun.
-
Continue using the spudger along the edge of the display to completely loosen it on all sides.
-
The front panel should now be separated from the metal framework.
-


To reassemble your device, follow these instructions in reverse order.
crwdns2935221:0crwdne2935221:0
crwdns2935229:043crwdne2935229:0
