-
-
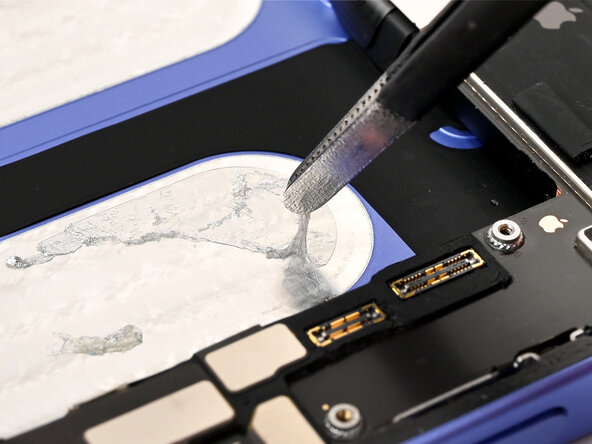
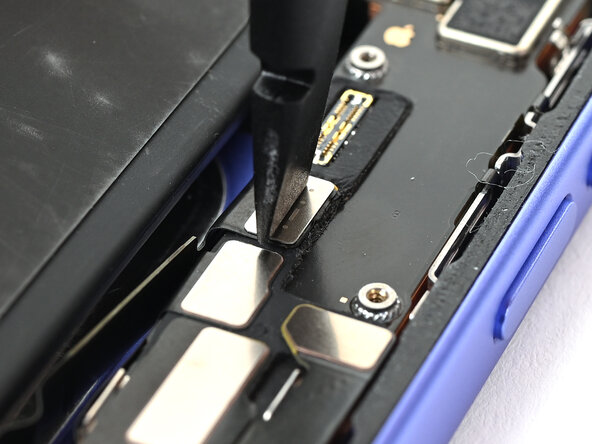
Use a pair of tweezers to peel up any large pieces of residual battery adhesive from the iPhone frame.
-
-
-
Use coffee filters or a lint‑free cloth and high‑concentration (>90%) isopropyl alcohol to wipe off any remaining battery adhesive residue from the iPhone frame.
-
-
-
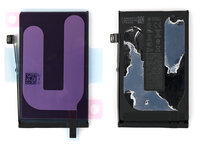
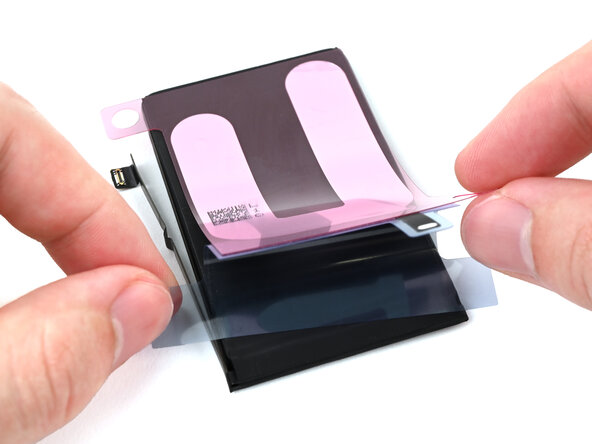
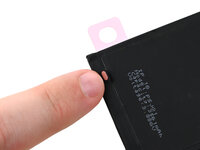
Lay the old battery with the adhesive facing up next to the new battery. Lay the new adhesive on the new battery to see how it needs to be applied.
-
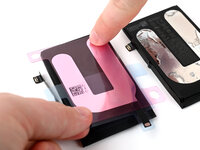
If the battery‑side of your adhesive has two liners, remove the top liner.
-
If the battery‑side of your adhesive has one liner, remove it.
-
-
-
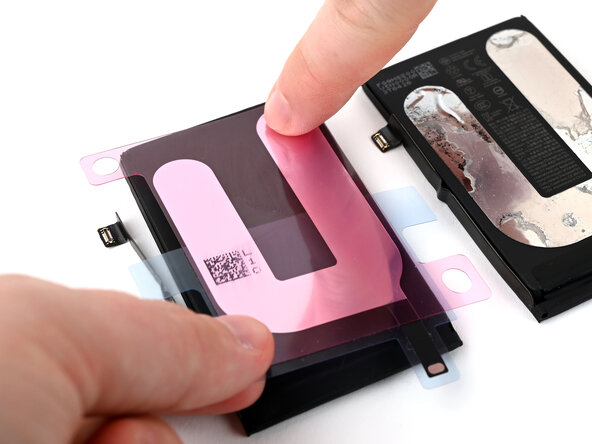
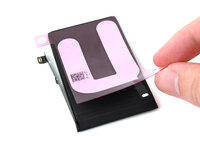
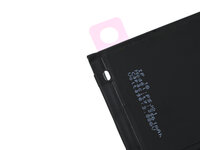
With the old battery nearby so you can align the new adhesive correctly, use your finger to lightly press the new adhesive to the new battery.
-
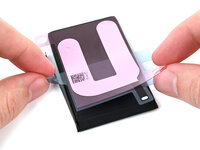
Compare the placement of the new adhesive with the old adhesive.
-
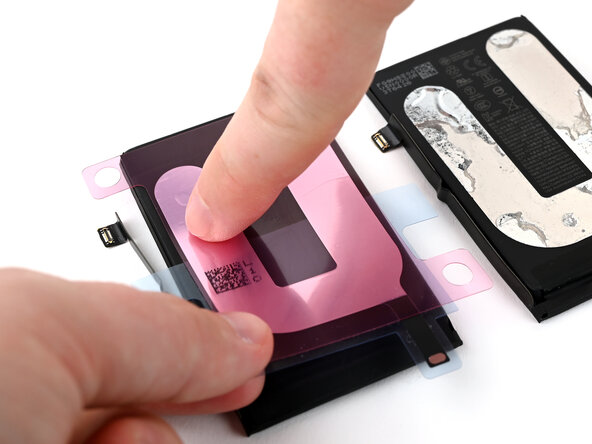
Once the new adhesive is aligned correctly and matches the old adhesive, press it firmly to the battery.
-
-
-
-
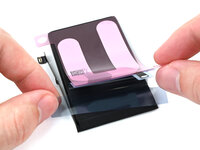
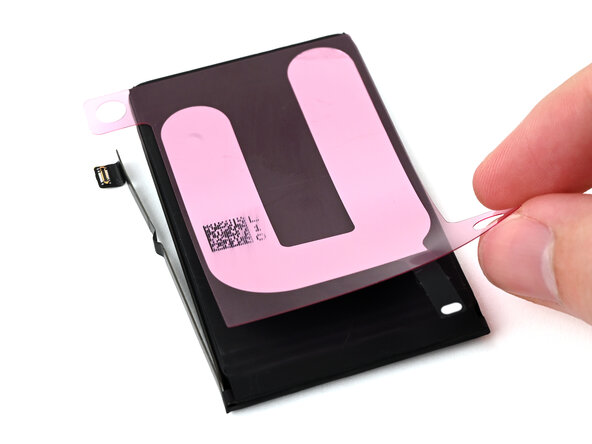
If the battery‑side of your adhesive still has a bottom liner on it, remove it now.
-
-
-
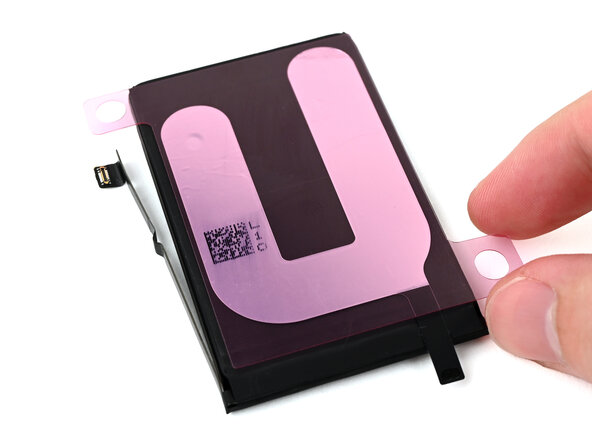
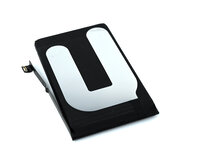
Lay the adhesive onto the battery and press it into place.
-
-
-
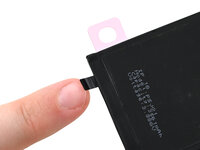
Use your finger to fold the conductive tab around to the front of the battery and press it into place.
-
-
-
Peel the iPhone‑side liner off of the battery adhesive.
-
-
-
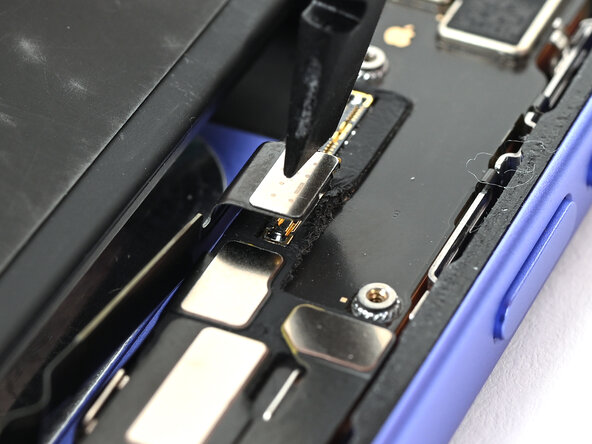
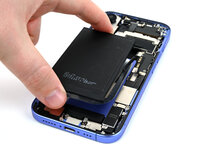
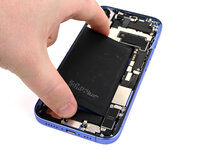
Hold the battery over its place in the iPhone, but don't lower it into place yet.
-
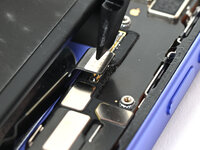
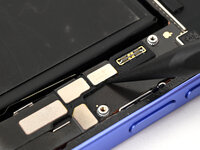
To ensure the battery is properly placed, use a spudger or your finger to connect the battery press connector.
-
-
-
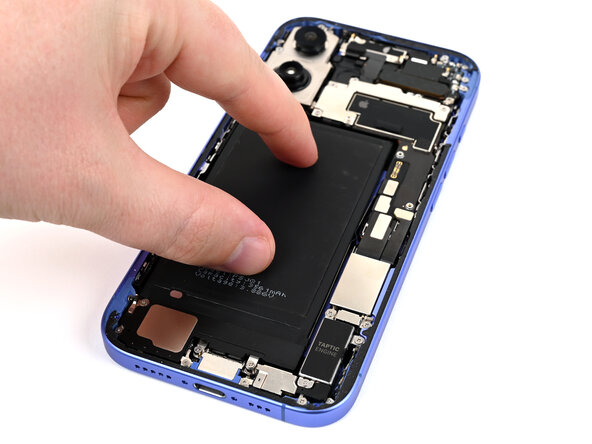
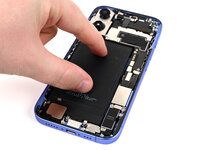
With the battery connected, lower it into its place in the iPhone.
-
Use your fingers to press the battery into place.
-
-
-
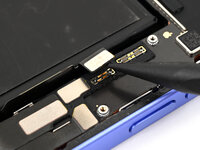
Use a spudger or your finger to disconnect the battery to protect your iPhone during the rest of the reassembly process.
-


To reassemble your device, follow these instructions in reverse order.
To reassemble your device, follow these instructions in reverse order.

