crwdns2915892:0crwdne2915892:0
How to replace the power button in an intel iMac.
-
-
To get to the power button first remove the hard drive fan as seen in other guides.
-
-
-
This is a picture of the button in place with the connector to the logic board removed.
-
There are three plastic pins protruding up from the main back case that the button fits over. They appear to be slightly melted and mashed to hold it in place. I used a pocket knife to pry it up and off the posts.
-
-
-
-
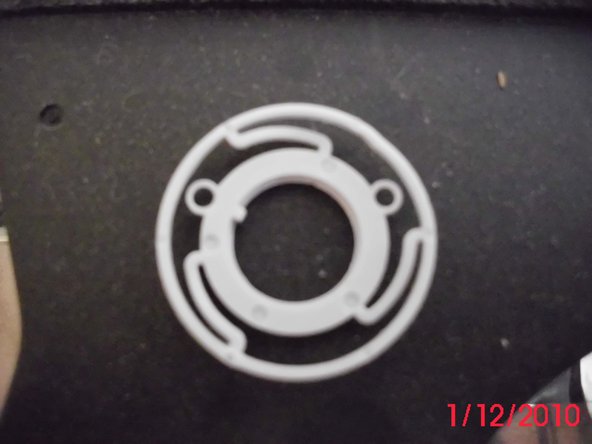
Here it is with the back plate of the button pried off. This exposes a white plastic washer under it.
-
-
-
The center of the washer has a center locking pin to correctly place it on the back of the button. The washer is concave and the concave side faces the button, This gives the button a spring to it so that it will pop back out.
-
-
-
This is he back of the button that will now just push out. Picture #2 is with the button removed.
-
-
-
Test the button to see if it works.
-
After replacing the button, use something (like a low temperature soldering iron) that will melt the tops of the white plastic pegs to secure the button in place.
-


To reassemble your device, follow these instructions in reverse order.
To reassemble your device, follow these instructions in reverse order.
crwdns2935221:0crwdne2935221:0
crwdns2935229:04crwdne2935229:0

crwdns2915084:0crwdne2915084:0

MacHale Enterprises crwdns2935289:0MacHale Enterprisescrwdne2935289:0
Business
crwdns2934841:01crwdne2934841:0
crwdns2935297:021crwdne2935297:0