crwdns2915892:0crwdne2915892:0
Regain wireless connectivity by replacing your broken AirPort/Bluetooth board.
crwdns2942213:0crwdne2942213:0
-
-
Loosen the two Phillips screws securing the access door to your iMac.
-
-
-
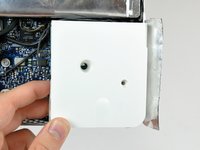
Remove the access door from your iMac.
-
-
-
Remove the three T8 Torx screws securing the front bezel to the rear panel.
-
-
-
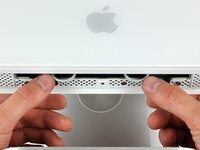
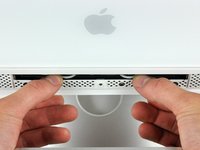
Use your thumbs to press both RAM arms in past the front bezel for enough clearance to lift it off the rear case.
-
-
-
While holding the RAM arms in with your thumbs, lift the lower edge of the front bezel enough to clear the rear case.
-
-
-
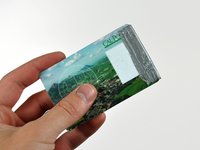
crwdns2935267:0crwdne2935267:0Plastic Cards$2.99
-
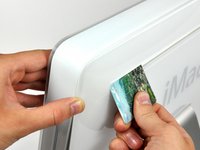
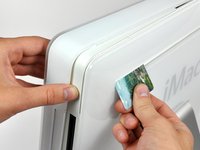
Insert a plastic card up into the corner of the air vent slot at the top of the rear case.
-
Push the card toward the top of the iMac to release the front bezel latch.
-
Pull the front bezel away from the rear case.
-
Repeat this process for the other side of the front bezel.
-
-
-
Lay your iMac stand-side down on a table.
-
Lift the front bezel from its lower edge and rotate it away from the rest of your iMac, minding the RAM arms that may get caught.
-
Lay the front bezel above the rest of the iMac.
-
-
-
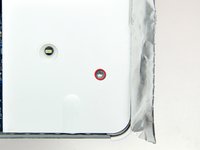
If necessary, remove the piece of kapton tape wrapped around the microphone and camera cables.
-
-
-
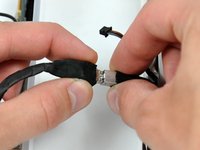
Disconnect both the camera and microphone cables.
-
-
-
Peel back the aluminum EMI shield up off the lower three edges of the rear case.
-
-
-
Remove the single T10 Torx screw securing the right speaker to the rear case.
-
Pull the rear speaker out of the rear case, and move it out of the way.
-
-
-
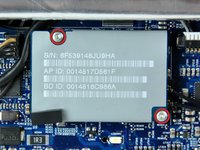
Remove the two T6 Torx screws securing the AirPort/Bluetooth board to the logic board.
-
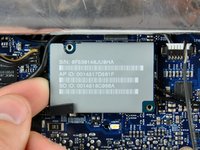
Lift the AirPort/Bluetooth board up from its left edge to separate it from its socket on the logic board.
-
-
-
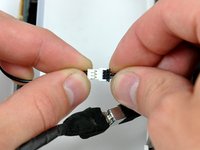
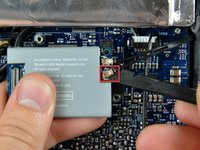
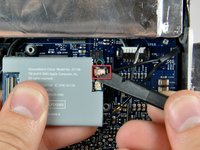
Use the flat end of a spudger to pry the AirPort and Bluetooth antenna connectors up off the AirPort/Bluetooth board.
-


To reassemble your device, follow these instructions in reverse order.
crwdns2935221:0crwdne2935221:0
crwdns2935229:02crwdne2935229:0
