crwdns2933423:0crwdne2933423:0
crwdns2947577:0crwdnd2947577:0crwdne2947577:0

iHome iPL8 Screen Replacement

crwdns2942213:0crwdne2942213:0

    1. iHome iPL8 Screen Replacement, Battery: crwdns2935265:01crwdnd2935265:01crwdnd2935265:01crwdne2935265:0
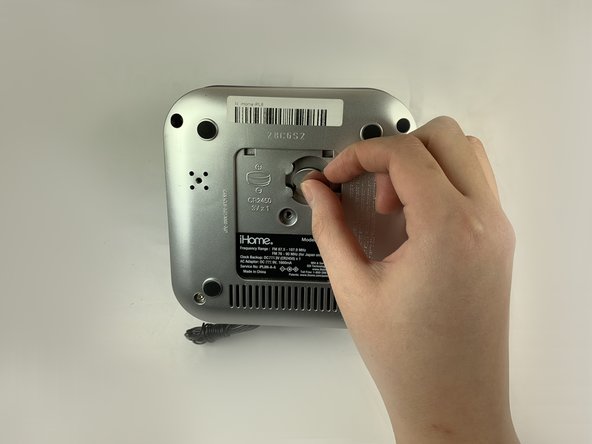
      • Turn the device over to access the bottom panel.

      • Locate the 6mm Phillips #2 screw under the label "unscrew to open door."

      crwdns2952109:0crwdne2952109:0

      crwdns2917038:0crwdne2917038:0

    2. iHome iPL8 Screen Replacement: crwdns2935265:02crwdnd2935265:01crwdnd2935265:01crwdne2935265:0
      • Using a Phillips #2 screwdriver, unscrew the captive screw.

      • Keep turning until the screw and the door are loose.

      crwdns2952109:0crwdne2952109:0

      crwdns2917038:0crwdne2917038:0

    3. iHome iPL8 Screen Replacement: crwdns2935265:03crwdnd2935265:01crwdnd2935265:01crwdne2935265:0
      • Lift and remove the battery access panel.

      • The captive screw will remain attached to the panel.

      crwdns2952109:0crwdne2952109:0

      crwdns2917038:0crwdne2917038:0

    4. iHome iPL8 Screen Replacement: crwdns2935265:04crwdnd2935265:01crwdnd2935265:02crwdne2935265:0 iHome iPL8 Screen Replacement: crwdns2935265:04crwdnd2935265:02crwdnd2935265:02crwdne2935265:0
      • Gently press on the rim of the 3V battery.

      • Remove the 3V battery.

      crwdns2952109:0crwdne2952109:0

      crwdns2917038:0crwdne2917038:0

    1. iHome iPL8 Screen Replacement, Lightning Connector: crwdns2935265:05crwdnd2935265:01crwdnd2935265:01crwdne2935265:0
      • Keeping your device upside-down, locate the four 6mm Phillips #2 screws near each corner.

      • Remove the four 6mm Phillips #2 screws.

      crwdns2952109:0crwdne2952109:0

      crwdns2917038:0crwdne2917038:0

    2. iHome iPL8 Screen Replacement: crwdns2935265:06crwdnd2935265:01crwdnd2935265:01crwdne2935265:0
      • Remove the four round pads from the bottom of the device.

      • There are two additional 6mm Phillips #2 screws under the pads.

      • Using a Phillips #2 screwdriver, remove the two remaining screws.

      • Put your hand on the silver bottom case and gently pull it outward.

      crwdns2952109:0crwdne2952109:0

      crwdns2917038:0crwdne2917038:0

    3. iHome iPL8 Screen Replacement: crwdns2935265:07crwdnd2935265:01crwdnd2935265:02crwdne2935265:0 iHome iPL8 Screen Replacement: crwdns2935265:07crwdnd2935265:02crwdnd2935265:02crwdne2935265:0
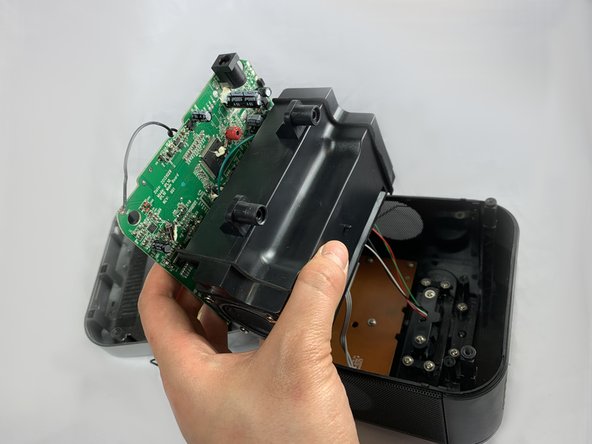
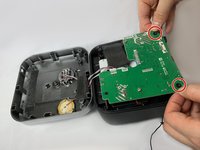
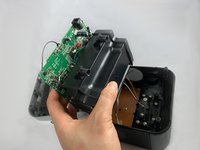
      • Locate the green circuit board. This panel is clipped onto two black, circular-shaped columns at two corners.

      • Pull out the green circuit board on the two corners.

      • The green circuit board is attached to a black box at the bottom. Flip the panel and the black box together to open the device.

      crwdns2952109:0crwdne2952109:0

      crwdns2917038:0crwdne2917038:0

    4. iHome iPL8 Screen Replacement: crwdns2935265:08crwdnd2935265:01crwdnd2935265:02crwdne2935265:0 iHome iPL8 Screen Replacement: crwdns2935265:08crwdnd2935265:02crwdnd2935265:02crwdne2935265:0
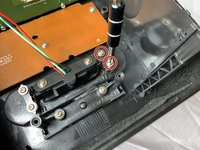
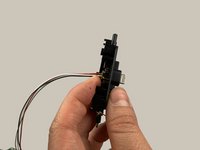
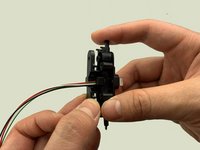
      • Remove the two 2.5 mm Phillips #1 screws securing the lightning dock assembly to the device.

      • Remove the two screws and the black cover.

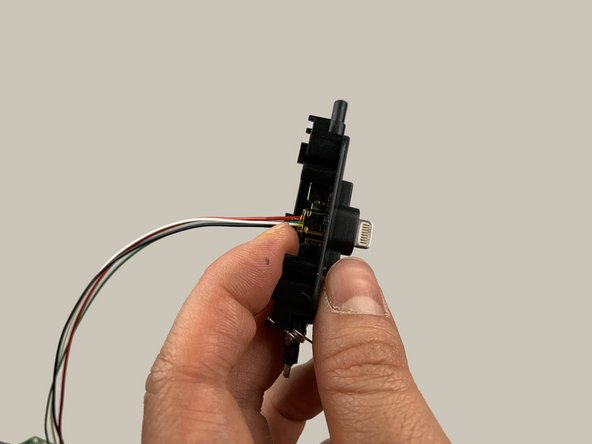
      • Gently remove the lightning dock assembly.

      • The lightning dock assembly is connected to wires.

      crwdns2952109:0crwdne2952109:0

      crwdns2917038:0crwdne2917038:0

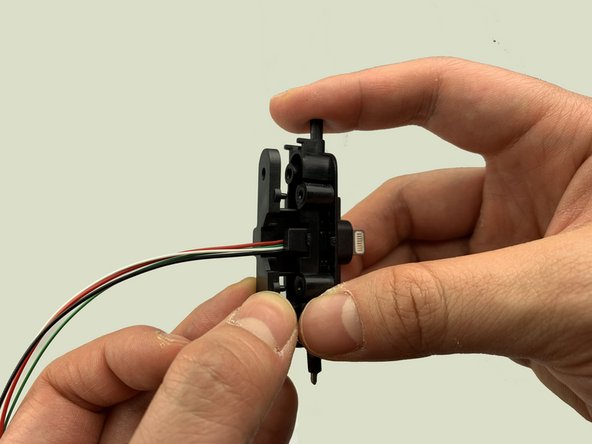
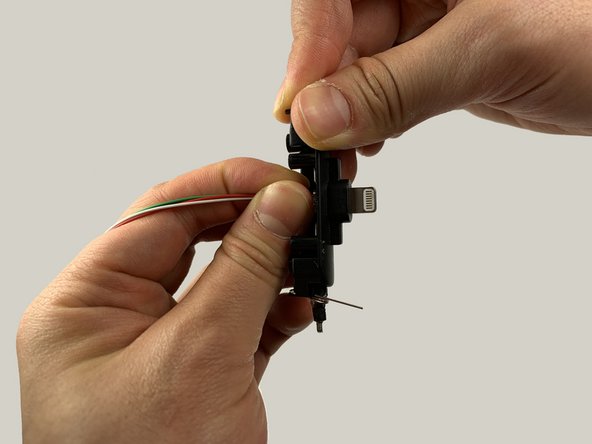
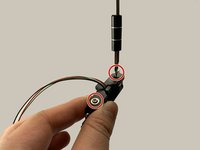
    5. iHome iPL8 Screen Replacement: crwdns2935265:09crwdnd2935265:01crwdnd2935265:03crwdne2935265:0 iHome iPL8 Screen Replacement: crwdns2935265:09crwdnd2935265:02crwdnd2935265:03crwdne2935265:0 iHome iPL8 Screen Replacement: crwdns2935265:09crwdnd2935265:03crwdnd2935265:03crwdne2935265:0
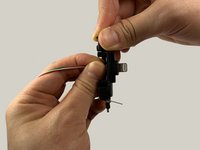
      • Remove the two 2.5mm screws using a Phillips #1 screwdriver.

      • Remove the back cover.

      • Use your fingers to reposition the lightning connector.

      • Make sure ALL of the lightning connector is exposed.

      crwdns2952109:0crwdne2952109:0

      crwdns2917038:0crwdne2917038:0

    1. iHome iPL8 Screen Replacement, Screen: crwdns2935265:010crwdnd2935265:01crwdnd2935265:01crwdne2935265:0
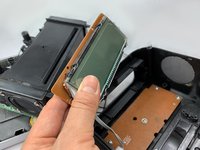
      • Look at the side of the device. You will see a green panel connecting to the black box by a white stripe.

      • Remove the four 2.5 mm Phillips #1 screws on the green panel.

      • Flip the green panel to reveal the front of the screen.

      crwdns2952109:0crwdne2952109:0

      crwdns2917038:0crwdne2917038:0

    2. iHome iPL8 Screen Replacement: crwdns2935265:011crwdnd2935265:01crwdnd2935265:02crwdne2935265:0 iHome iPL8 Screen Replacement: crwdns2935265:011crwdnd2935265:02crwdnd2935265:02crwdne2935265:0
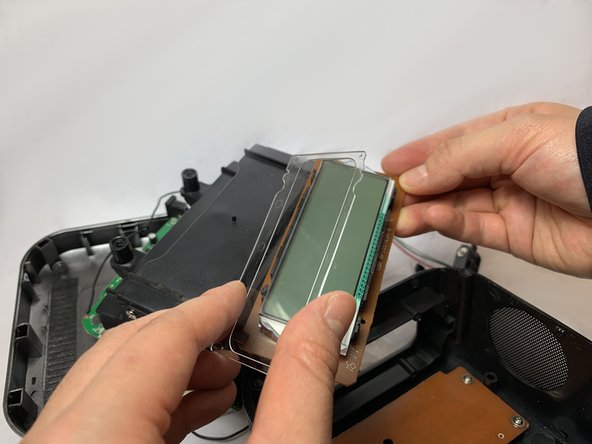
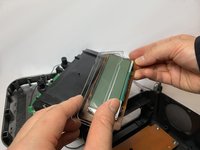
      • Locate the transparent, rectangular plastic screen cover.

      • Gently lift the cover off.

      • The screen is now revealed. Replace the screen with a functioning one.

      crwdns2952109:0crwdne2952109:0

      crwdns2917038:0crwdne2917038:0

crwdns2915888:0crwdne2915888:0

To reassemble your device, follow these instructions in reverse order.

crwdns2935221:0crwdne2935221:0

crwdns2935227:0crwdne2935227:0

Chen Zhong

crwdns2935283:002/05/19crwdne2935283:0

569 crwdns2915208:0crwdne2915208:0

crwdns2935297:04crwdne2935297:0

crwdns2935287:0crwdne2935287:0

UC Davis, Team S18-G5, Lore Winter 2019 crwdns2935289:0UC Davis, Team S18-G5, Lore Winter 2019crwdne2935289:0

UCD-LORE-W19S18G5

crwdns2931471:03crwdne2931471:0

crwdns2935297:048crwdne2935297:0

crwdns2947410:01crwdne2947410:0

Hi, I have one iHome iBN20 that needs to replace the screen too.

Please guide me to open up the casing.

Thank you.

Chan - crwdns2934203:0crwdne2934203:0 crwdns2950251:0crwdne2950251:0

crwdns2917038:0crwdne2917038:0

crwdns2936625:0crwdne2936625:0:

crwdns2936751:024crwdne2936751:0 2

crwdns2936753:07crwdne2936753:0 3

crwdns2936753:030crwdne2936753:0 21

crwdns2942667:0crwdne2942667:0 466