crwdns2915892:0crwdne2915892:0
If your iPod/iPhone is not charging when you mount the device on the iP21, changing the docking station pin might be time. The docking station pin on the iHome iP21 dock provides signals and power to charge your device through one single connector. Here is a guide to replace the docking station pin on an iHome iP21 dock.
crwdns2942213:0crwdne2942213:0
-
-
Pry the four rubber feet from the bottom of the iP21 to expose four 11mm screws.
-
Unscrew the four 11mm screws from the base.
-
Pry the base loose using the spudger.
-
Remove the base by hand.
-
-
-
Remove the two black 6mm screws connecting the main circuit board to the housing top.
-
Gently pull front housing from the back housing.
-
-
-
-
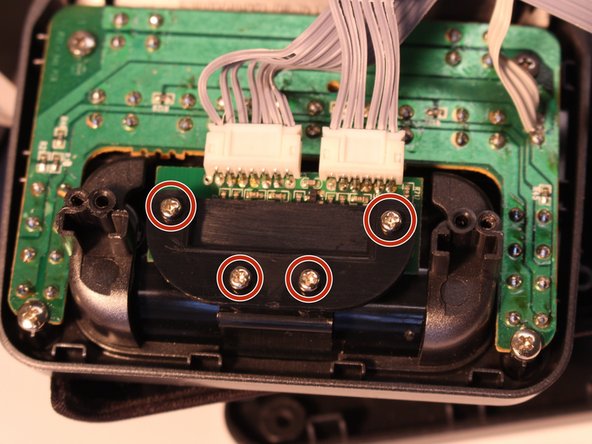
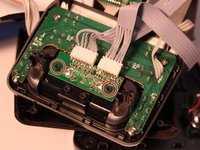
Locate the 30-pin docking mount on the iP21. The 30-pin docking mount is visible on top of the iP21.
-
-
-
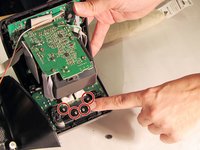
Remove the four 4mm screws from the protective cover using the iFixit Phillips #1 bit
-
-
-
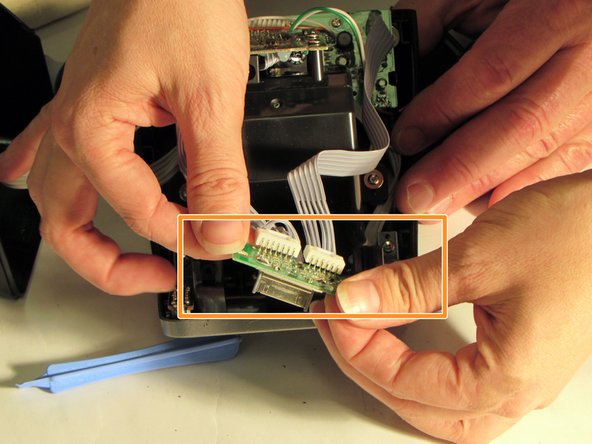
Grasp plastic cable connector ends
-
Remove the mini circuit board with 30-pin mounting dock from the two black plastic pegs.
-
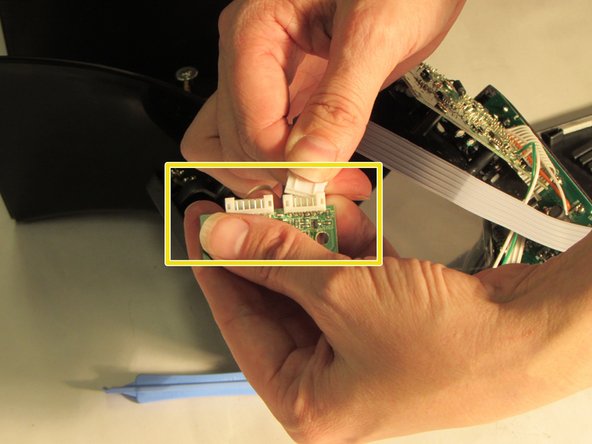
Rock gently back and forth and pull to detach mini circuit board with 30-pin mounting dock attached.
-


To reassemble your device, follow these instructions in reverse order.
To reassemble your device, follow these instructions in reverse order.

crwdns2915084:0crwdne2915084:0

Eastern Washington University, Team 1-2, Carnegie Fall 2014 crwdns2935289:0Eastern Washington University, Team 1-2, Carnegie Fall 2014crwdne2935289:0
EWU-CARNEGIE-F14S1G2
crwdns2931471:06crwdne2931471:0
crwdns2935297:06crwdne2935297:0