crwdns2915892:0crwdne2915892:0
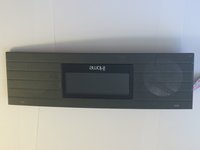
This guide will show the proper disassembly of this iHome model so that the time display screen may be replaced. If other components need replacement (speakers, backup battery, etc.) this guide will still show how to get to those components.
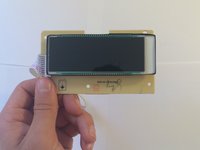
crwdns2942213:0crwdne2942213:0
-
-
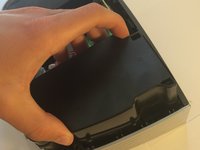
Flip the iHome upside down.
-
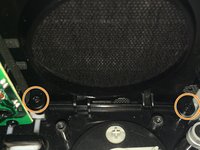
You should see six pocketed Phillip's head screws.
-
You should also see 2 visible Phillip head screws.
-
Using a long neck Phillips head screwdriver, remove the screws.
-
-
-
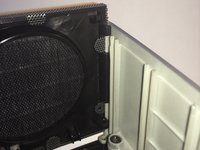
Slightly lift the front end with the support.
-
Insert the flat end of the spudger and slide it along the edge.
-
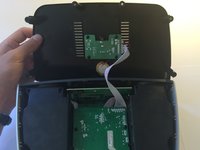
The case should pop out easily. Remove the piece by lifting it straight out.
-
-
crwdns2935267:0crwdne2935267:0Tweezers$4.99
-
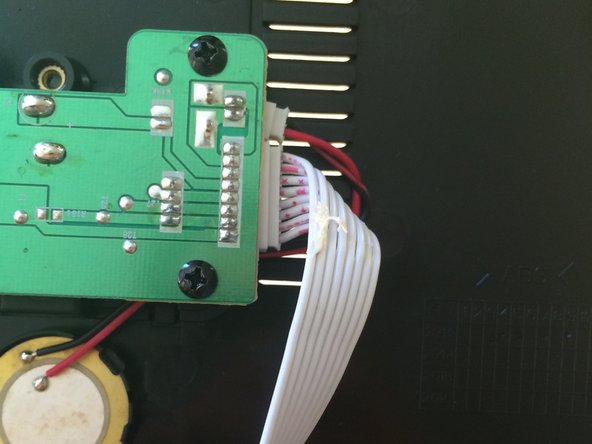
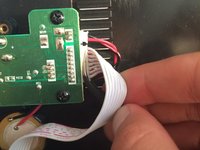
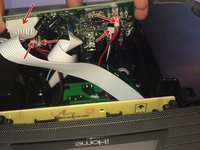
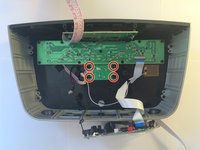
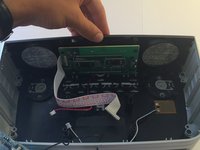
Using a pair of tweezers, remove the ribbon cable connector at the backup battery.
-
-
-
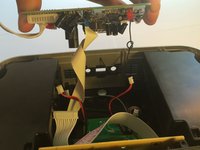
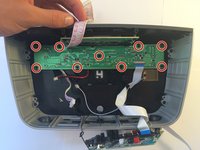
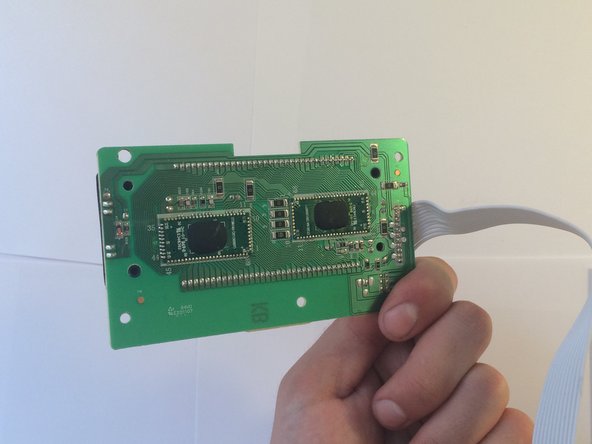
Remove the 4 screws located on the logic board.
-
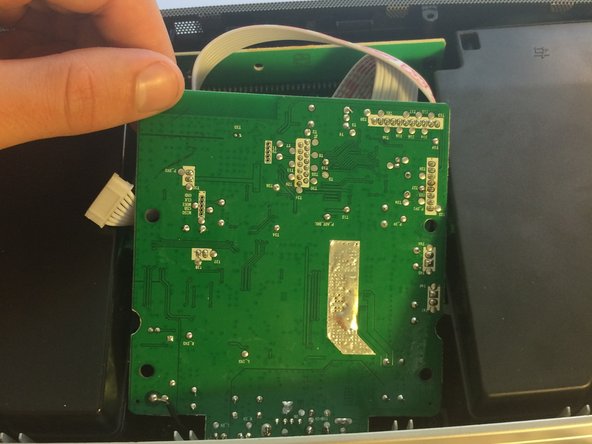
Gently lift the front side of the board towards you
-
-
-
-
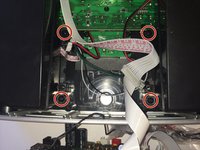
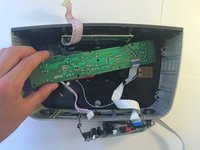
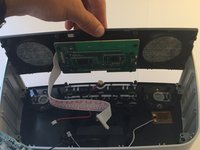
Remove the 4 two-wire extension cables and the ribbon cable connected to the unit.
-
Set the logic board next to the unit.
-
-
-
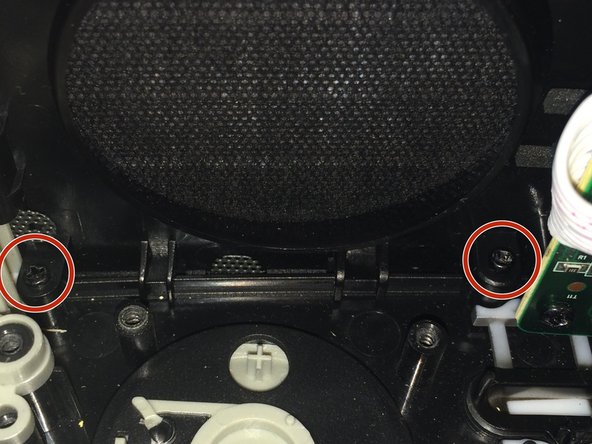
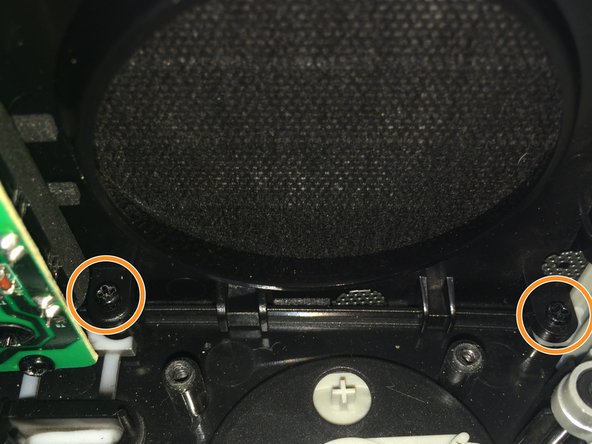
Remove the 4 Phillips head screws that attach the speakers to the unit.
-
There are 2 more screws for each speaker. The speakers are symmetrical. Remove the 4 screws to free both speakers.
-
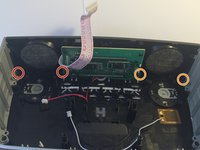
Gently lift each speaker out of the unit and set aside.
-
-
-
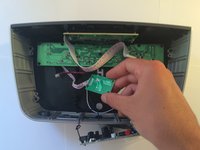
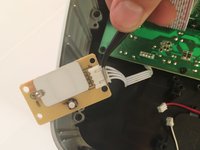
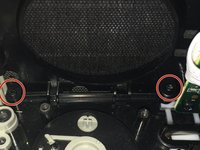
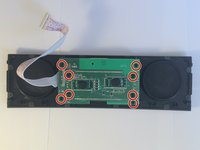
Remove the 4 Phillips head screws belonging to the small bluetooth circuit board.
-
Using tweezers, remove the ribbon cable connection.
-
Set the bluetooth circuit board aside.
-
-
-
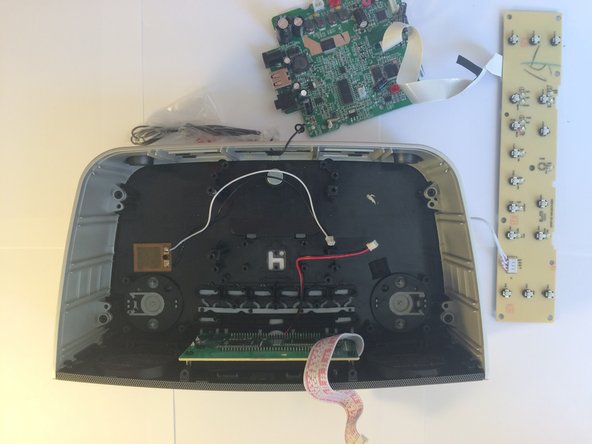
Remove the 9 Phillips screws that fasten the switch board to the unit.
-
Remove the switch board and place it outside of the unit, out of the way.
-
-
-
Using the size 1 Phillips screwdriver, remove the 4 Phillips head screws that hold the different parts of the case together.
-
-
-
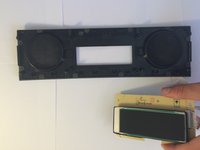
Slide the screen up and out of the unit.
-
-
-
Remove the 8 Phillips screws and remove the time display screen.
-
-
-
Now this component is either repaired or replaced.
-


Follow these steps backwards to reassemble the device. The reassembly is straightforward; it should all fit well again.
crwdns2935221:0crwdne2935221:0
crwdns2935227:0crwdne2935227:0

crwdns2935287:0crwdne2935287:0

Cal Poly, Team 10-1, Green Fall 2015 crwdns2935289:0Cal Poly, Team 10-1, Green Fall 2015crwdne2935289:0
CPSU-GREEN-F15S10G1
crwdns2931471:04crwdne2931471:0
crwdns2935297:07crwdne2935297:0
crwdns2947412:02crwdne2947412:0
Where did you find iHome iBN97 Display Screen Replacement?
This page is wrong. I contact support and they do not stock parts.