crwdns2915892:0crwdne2915892:0
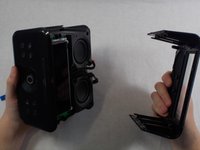
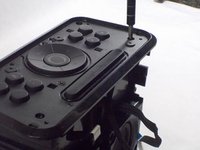
Are you interested in improving the Wi-Fi reception on your iHome iAVS16? This guide will show you how to disassemble the iHome iAVS16 to access the Wi-Fi antenna for replacement.
The iHome iAVS16 is a clock and speaker system with Amazon Alexa capabilities. The device uses a Link Play A31 Wi-Fi module for playing audio content via a wireless Internet connection. Replacing the attached antenna could help to improve the Wi-Fi reception.
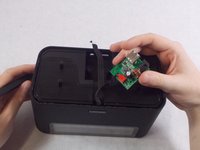
You may wish to remove the motherboard for easier access to the Wi-Fi chip. If so, the motherboard guide provides instructions for that process.
Before beginning, make sure to power off the device completely and disconnect from any external power source.
crwdns2942213:0crwdne2942213:0
-
-
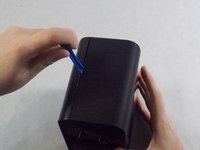
Remove the four 1.7 mm Phillips #0 screws located on the bottom of the device.
-
Lift up the bottom of the device.
-
-
-
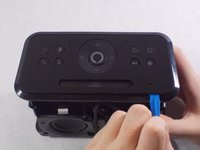
Remove the two 1.7 mm Phillips #0 screws holding the white face place onto the inside of the device's bottom.
-
Using an iFixit opening tool on the side without the black adhesive, carefully lift up the white face plate.
-
-
crwdns2935267:0crwdne2935267:0Tweezers$4.99
-
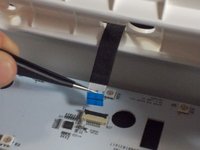
Using the tweezers, lift up on the black tab holding the ribbon cable down.
-
Carefully pull the ribbon cable back and out of the slot.
-
-
-
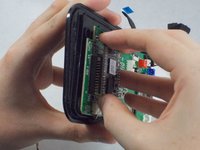
Remove the two 1.7 mm Phillips #0 screws holding the power board in.
-
Carefully flip the board over.
-
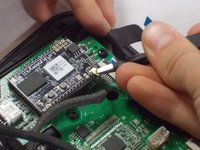
Remove the red connector from its socket with a pair of tweezers.
-
-
-
-
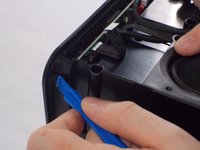
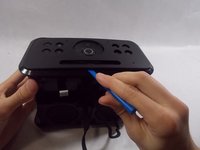
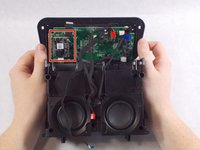
Insert an iFixit opening tool into the lining on the front casing and pry it apart. Do this for both sides.
-
Further remove the front casing off from the device manually with your hands.
-
-
-
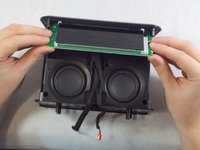
Remove the four 1.7 mm Phillips #0 screws holding the LCD onto the front of the device.
-
-
-
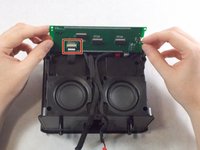
Carefully flip the LCD display over to expose the ribbon cable connecting it.
-
Lift the black tab holding the cable down, and carefully put it out of the socket.
-
-
-
Using an iFixit opening tool, push the tab under the top of the device to create a gap.
-
Insert the iFixit opening tool in the gap, and slide it across to remove the top casing.
-
-
-
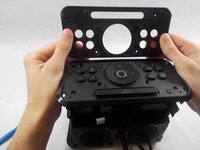
Remove the top cover of the device.
-
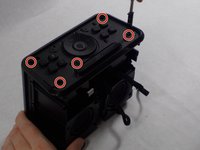
Remove the five 1.7 mm Phillips #0 screws on the top of the device.
-
-
crwdns2935267:0crwdne2935267:0Tweezers$4.99
-
Remove the Wi-Fi antenna with tweezers.
-


To reassemble your device, follow these instructions in reverse order.
To reassemble your device, follow these instructions in reverse order.

crwdns2915084:0crwdne2915084:0

UMass Dartmouth, Team S1-G7, O'Connell Fall 2019 crwdns2935289:0UMass Dartmouth, Team S1-G7, O'Connell Fall 2019crwdne2935289:0
UMASSD-O'CONNELL-F19S1G7
crwdns2931471:04crwdne2931471:0
crwdns2935297:05crwdne2935297:0