crwdns2915892:0crwdne2915892:0
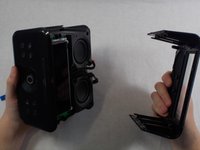
This guide will show you how to disassemble and remove the speakers in the iHome iAVS16, we hope you can use our guide to help you.
crwdns2942213:0crwdne2942213:0
-
-
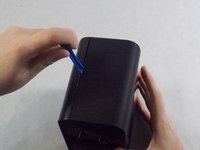
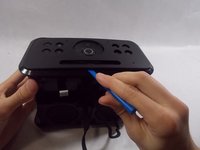
Remove the four 1.7 mm Phillips #0 screws located on the bottom of the device.
-
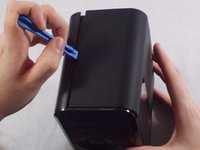
Lift up the bottom of the device.
-
-
-
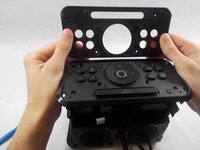
Remove the two 1.7 mm Phillips #0 screws holding the white face place onto the inside of the device's bottom.
-
Using an iFixit opening tool on the side without the black adhesive, carefully lift up the white face plate.
-
-
crwdns2935267:0crwdne2935267:0Tweezers$4.99
-
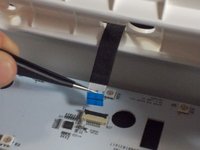
Using the tweezers, lift up on the black tab holding the ribbon cable down.
-
Carefully pull the ribbon cable back and out of the slot.
-
-
-
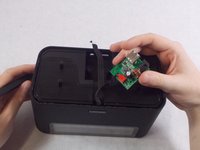
Remove the two 1.7 mm Phillips #0 screws holding the power board in.
-
Carefully flip the board over.
-
Remove the red connector from its socket with a pair of tweezers.
-
-
-
Insert an iFixit opening tool into the lining on the front casing and pry it apart. Do this for both sides.
-
Further remove the front casing off from the device manually with your hands.
-
-
-
-
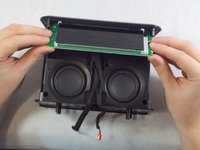
Remove the four 1.7 mm Phillips #0 screws holding the LCD onto the front of the device.
-
-
-
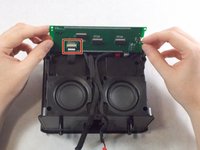
Carefully flip the LCD display over to expose the ribbon cable connecting it.
-
Lift the black tab holding the cable down, and carefully put it out of the socket.
-
-
-
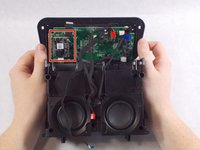
Flip up the back of the device encasing the motherboard.
-
-
crwdns2935267:0crwdne2935267:0Tweezers$4.99
-
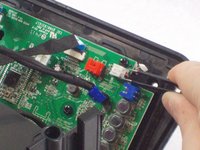
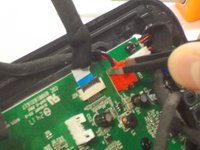
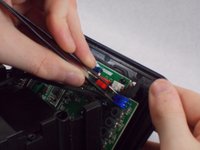
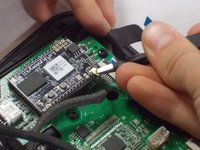
Using tweezers, unplug the white, red, and blue connectors from the motherboard by pulling each out.
-
-
-
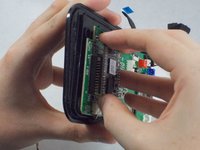
Carefully unplug the ribbon cable, making sure not to rip it.
-
-
-
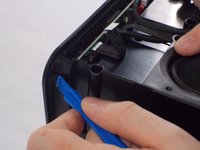
Using an iFixit opening tool, push the tab under the top of the device to create a gap.
-
Insert the iFixit opening tool in the gap, and slide it across to remove the top casing.
-
-
-
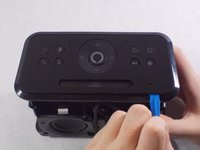
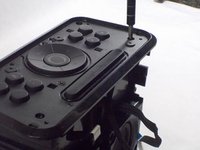
Remove the top cover of the device.
-
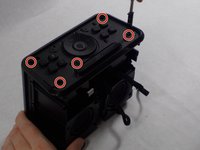
Remove the five 1.7 mm Phillips #0 screws on the top of the device.
-
-
crwdns2935267:0crwdne2935267:0Tweezers$4.99
-
Remove the Wi-Fi antenna with tweezers.
-
-
-
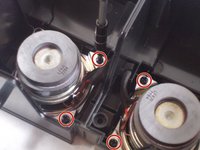
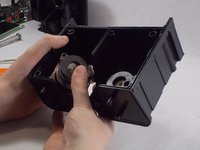
Remove the four Phillips screws on the back of the front half of the device holding the speakers in.
-
Push the speakers out of the back of the device.
-


Thank you for using our guide, we hope that it helped you fix your project
Thank you for using our guide, we hope that it helped you fix your project

crwdns2915084:0crwdne2915084:0

UMass Dartmouth, Team S1-G7, O'Connell Fall 2019 crwdns2935289:0UMass Dartmouth, Team S1-G7, O'Connell Fall 2019crwdne2935289:0
UMASSD-O'CONNELL-F19S1G7
crwdns2931471:04crwdne2931471:0
crwdns2935297:05crwdne2935297:0