crwdns2933423:0crwdne2933423:0

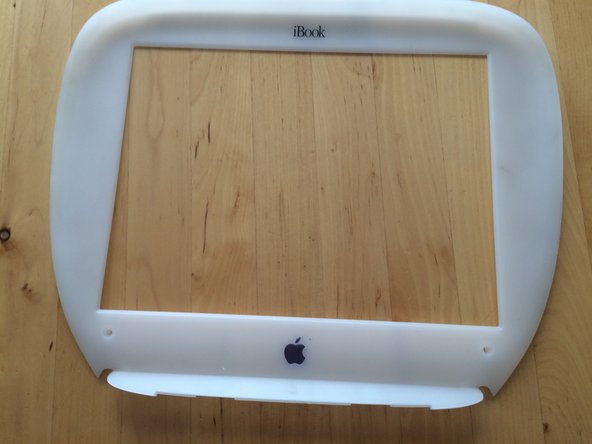
iBook G3 Clamshell LCD Bezel Replacement

crwdns2942213:0crwdne2942213:0

  1. iBook G3 Clamshell LCD Bezel Replacement, Battery Cover: crwdns2935265:01crwdnd2935265:01crwdnd2935265:01crwdne2935265:0
    • Use a coin to unscrew the battery cover, and remove battery.

  2. iBook G3 Clamshell LCD Bezel Replacement, Back Cover: crwdns2935265:02crwdnd2935265:01crwdnd2935265:02crwdne2935265:0 iBook G3 Clamshell LCD Bezel Replacement, Back Cover: crwdns2935265:02crwdnd2935265:02crwdnd2935265:02crwdne2935265:0
    • Use a t8 Torx driver to unscrew the two screws holding in the back cover, then remove the cover.

  3. iBook G3 Clamshell LCD Bezel Replacement: crwdns2935265:03crwdnd2935265:01crwdnd2935265:01crwdne2935265:0
    • Open the screen, and remove the two t8 Torx screws holding the bezel in place.

  4. iBook G3 Clamshell LCD Bezel Replacement: crwdns2935265:04crwdnd2935265:01crwdnd2935265:02crwdne2935265:0 iBook G3 Clamshell LCD Bezel Replacement: crwdns2935265:04crwdnd2935265:02crwdnd2935265:02crwdne2935265:0
    • Use a flat tip screw driver to unsnap the bezel from its place.

    • When at the top rubberized area, pry the bezel down.

crwdns2915888:0crwdne2915888:0

To reassemble your device, follow these instructions in reverse order.

crwdns2935227:0crwdne2935227:0

aidan

crwdns2935283:002/26/16crwdne2935283:0

101 crwdns2915208:0crwdne2915208:0

crwdns2935295:0crwdne2935295:0

crwdns2944067:00crwdne2944067:0

crwdns2917038:0crwdne2917038:0

crwdns2936625:0crwdne2936625:0:

crwdns2936751:024crwdne2936751:0 0

crwdns2936753:07crwdne2936753:0 1

crwdns2936753:030crwdne2936753:0 25

crwdns2942667:0crwdne2942667:0 3,331