crwdns2915892:0crwdne2915892:0
This guide will show you the steps on how to replace your M.2 NVMe Drive in your iBUYPOWER Trace 4 9310 desktop. The iBUYPOWER Trace 4 9310 comes with 2 SATA ports and 1 M.2 NVMe Drive port.
This guide can be completed within a few minutes, and you only need a small Phillips head screwdriver.
As a precaution, unplug and turn off your computer before working on it.
crwdns2942213:0crwdne2942213:0
-
-
Lay the desktop on its side with the glass panel facing up.
-
Remove the single screw.
-
-
-
Remove the glass side by pivoting it up with the bottom side still seated in the notches.
-
Lift the glass side out of the notches and set it to the side.
-
-
-
-
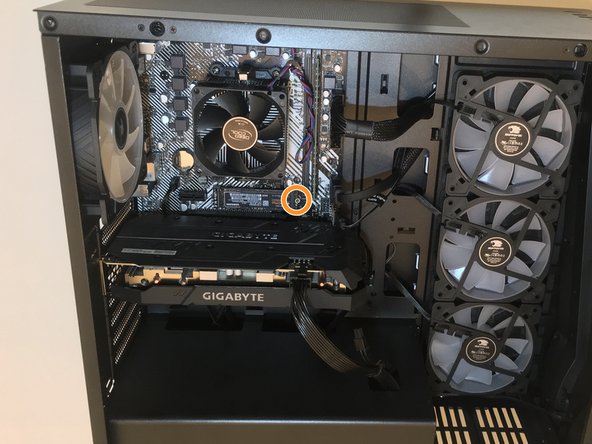
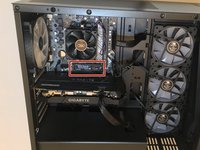
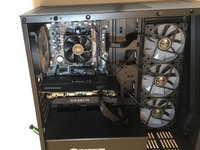
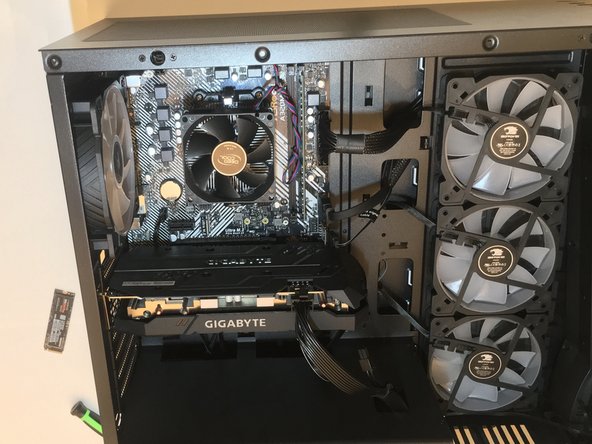
Locate the M.2 drive that is right above the CPU.
-
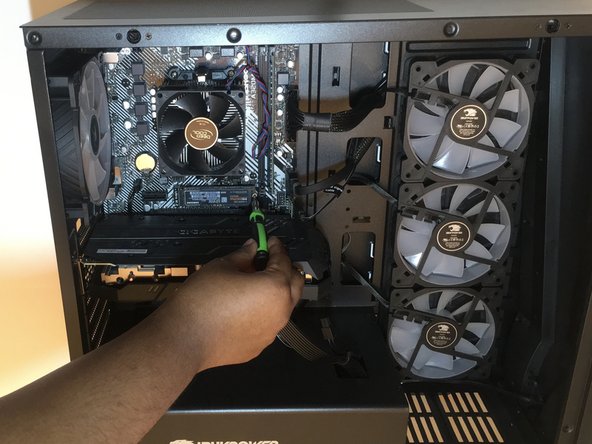
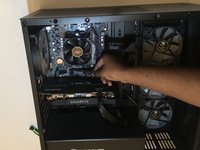
Remove the screw on the edge of the drive.
-
-
-
The drive should lift up on the edge where the screw was.
-
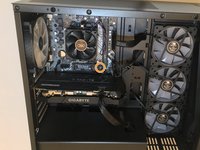
Pull the drive out at an angle from the motherboard.
-
-
-
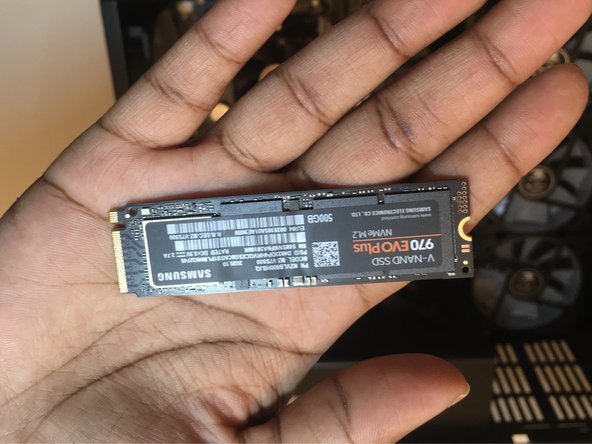
Line the new drive up with the slot and gently slide it in.
-
Use one finger to hold the drive down while you screw it back in.
-


To reassemble your device, follow these instructions in reverse order.
To reassemble your device, follow these instructions in reverse order.
crwdns2935221:0crwdne2935221:0
crwdns2935229:06crwdne2935229:0
crwdns2915084:0crwdne2915084:0

University of North Texas, Team S1-G14, Raign Spring 2021 crwdns2935289:0University of North Texas, Team S1-G14, Raign Spring 2021crwdne2935289:0
UNT-RAIGN-S21S1G14
crwdns2931471:02crwdne2931471:0
crwdns2935297:02crwdne2935297:0
crwdns2947410:01crwdne2947410:0
Thank you, Kilie, for the clear step-by-step instructions, together with pictures, for NVMe SSD installation.
George