crwdns2933803:05crwdne2933803:0
crwdns2933797:0Russell Repair Co.crwdnd2933797:0crwdne2933797:0
crwdns2936043:0crwdne2936043:0 crwdns2933505:0crwdne2933505:0 Russell Repair Co.
- crwdns2933769:0crwdne2933769:0
- crwdns2933771:0crwdne2933771:0
- crwdns2933801:0crwdne2933801:0
crwdns2933807:0crwdne2933807:0
| + | [* black] Using a TR6 Torx screwdriver, remove the two screws on the top motherboard and unclip it. |
|---|---|
| + | [* icon_caution] Be very careful after removing the screws from the top motherboard panel. While de-soldering is not required, you still must be careful to not damage the wires for the rest of the repair. |
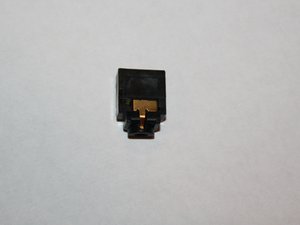
| + | [* black] After unclipping the top motherboard, the 3.5 mm audio jack piece will fall out. Set this aside for the reassembly of the controller. |
crwdns2933777:01crwdne2933777:0
crwdns2933779:0crwdne2933779:0

crwdns2915182:0crwdne2915182:0
crwdns2933777:02crwdne2933777:0
crwdns2933779:0crwdne2933779:0
crwdns2915182:0crwdne2915182:0