crwdns2933803:010crwdne2933803:0
crwdns2933797:0Jeff Suovanencrwdnd2933797:0crwdne2933797:0
crwdns2936043:0crwdne2936043:0 crwdns2933505:0crwdne2933505:0 Jeff Suovanen
- crwdns2933769:0crwdne2933769:0
- crwdns2933771:0crwdne2933771:0
- crwdns2933801:0crwdne2933801:0
crwdns2933807:0crwdne2933807:0
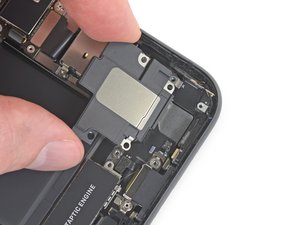
| + | [title] Remove the speaker |
|---|---|
| + | [* black] Remove the speaker. |
| + | [* icon_reminder] Optionally, to help protect against water and dust intrusion, replace the speaker's adhesive gasket during reassembly: |
| + | [* black] Peel away any remaining adhesive with tweezers. |
| + | [* black] Prep the area underneath by cleaning it with a bit of isopropyl alcohol and a lint-free cloth or coffee filter so that the gasket adheres properly. |
| + | [* black] Install a new gasket onto the speaker, and then install the speaker. |
crwdns2933777:01crwdne2933777:0
crwdns2933779:0crwdne2933779:0
crwdns2915182:0crwdne2915182:0
crwdns2933777:02crwdne2933777:0
crwdns2933779:0crwdne2933779:0

crwdns2915182:0crwdne2915182:0